

Moncada · Valencia
The IVIA study tested three planting dates and measured commercial yield and root size by cultivar.
Planting reference: 19 May · 17 June · 11 July · field-trial dates
View local climate and growing guideRegional field-trial overview · Spain
The Spain-wide climate point is centered far from the sweet-potato planting-date experiment in Moncada, Valencia. The local guide shows the tested May, June and July dates beside climate data for the trial location.
Moncada · Valencia trial location
Growing for a home garden? See the general sweet potato guide.
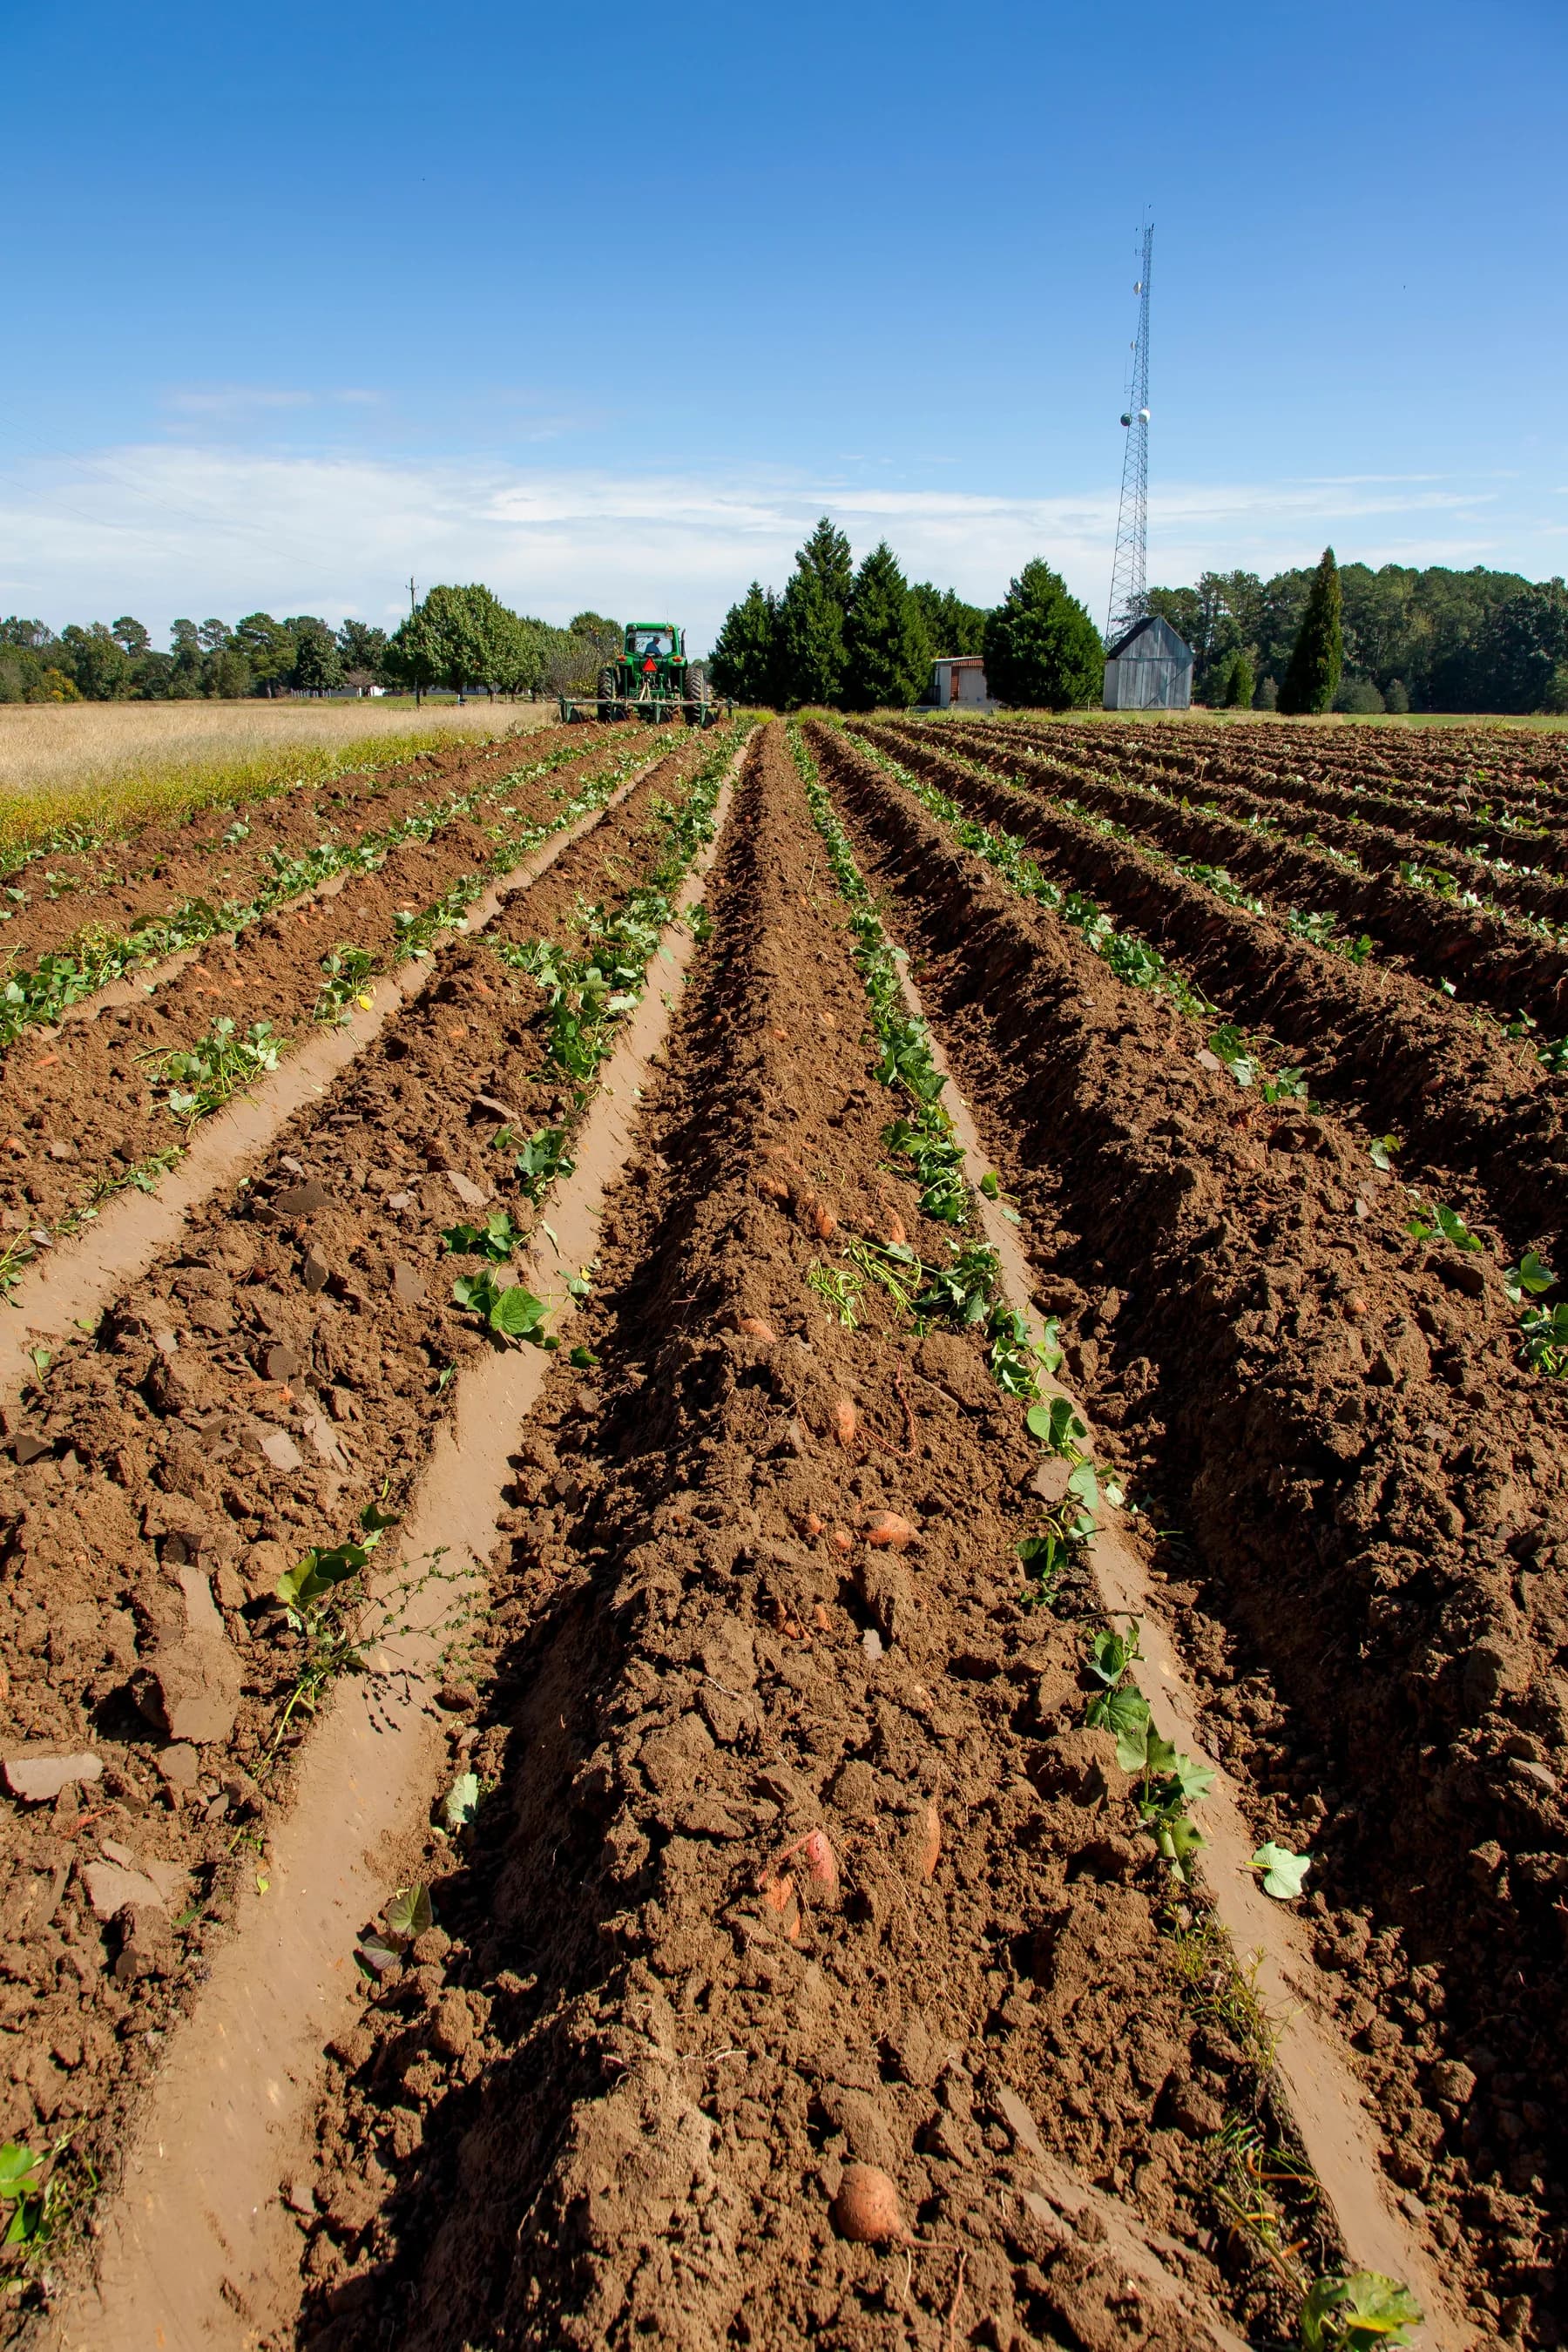
Regional crop context
A Ministry-hosted IVIA field experiment in Moncada compared planting dates, cultivars, commercial yield and root size.
The dates come from a 2005 Valencia experiment published in 2006; they do not represent all Spanish climates or a current national calendar.
Step 1 of 7 · Assess
Coordinate clean slip supply, field preparation, planting water, setter capacity, weed control and digging space before committing acreage.
6 topics still to verify· planning aid only, not a suitability score
Selections stay in this browser tab and are not saved or sent anywhere.
Need a field-specific review? Run a coordinate-level farm audit for localized conditions.
Root-knot nematodes, wireworms and other soilborne pests affect marketable roots. Soil sampling, clean planting material, crop rotation and equipment sanitation are the first decisions; chemical treatment depends on current field results and product labels.
Step 2 of 7 · Plan
Open the Moncada guide to compare the exact experimental dates and the local climate profile.
The IVIA study tested three planting dates and measured commercial yield and root size by cultivar.
Planting reference: 19 May · 17 June · 11 July · field-trial dates
View local climate and growing guideStep 3 of 7 · Prepare
Sweet potatoes develop best in a loose, well-drained root zone. Shape beds to the field soil and drainage pattern, and keep saturated ground out of the planting plan.
Keep bed height and shape consistent with soil texture, water movement and the equipment used on the farm.
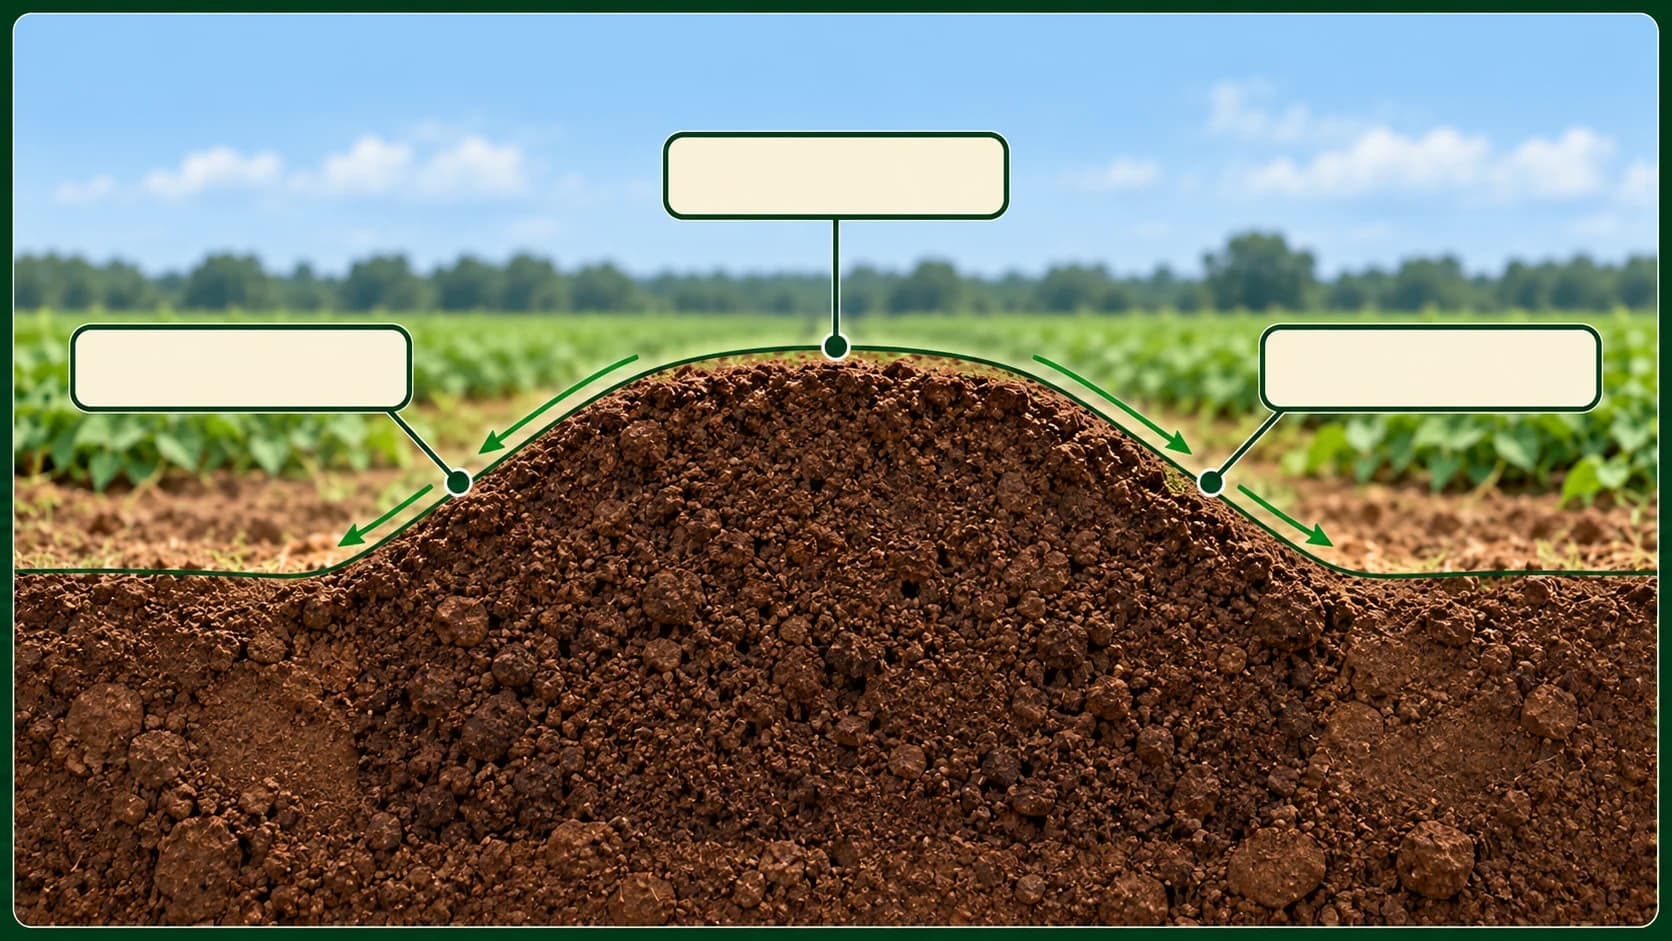
Base pH and fertilizer rates on representative soil tests. Avoid excess nitrogen, which can favor vine growth over marketable storage-root sizing.
Step 4 of 7 · Establish
Sweet potatoes are established from vegetative vine cuttings called slips. Buy clean, healthy slips in the target variety and quantity, and keep them shaded and moist until planting.
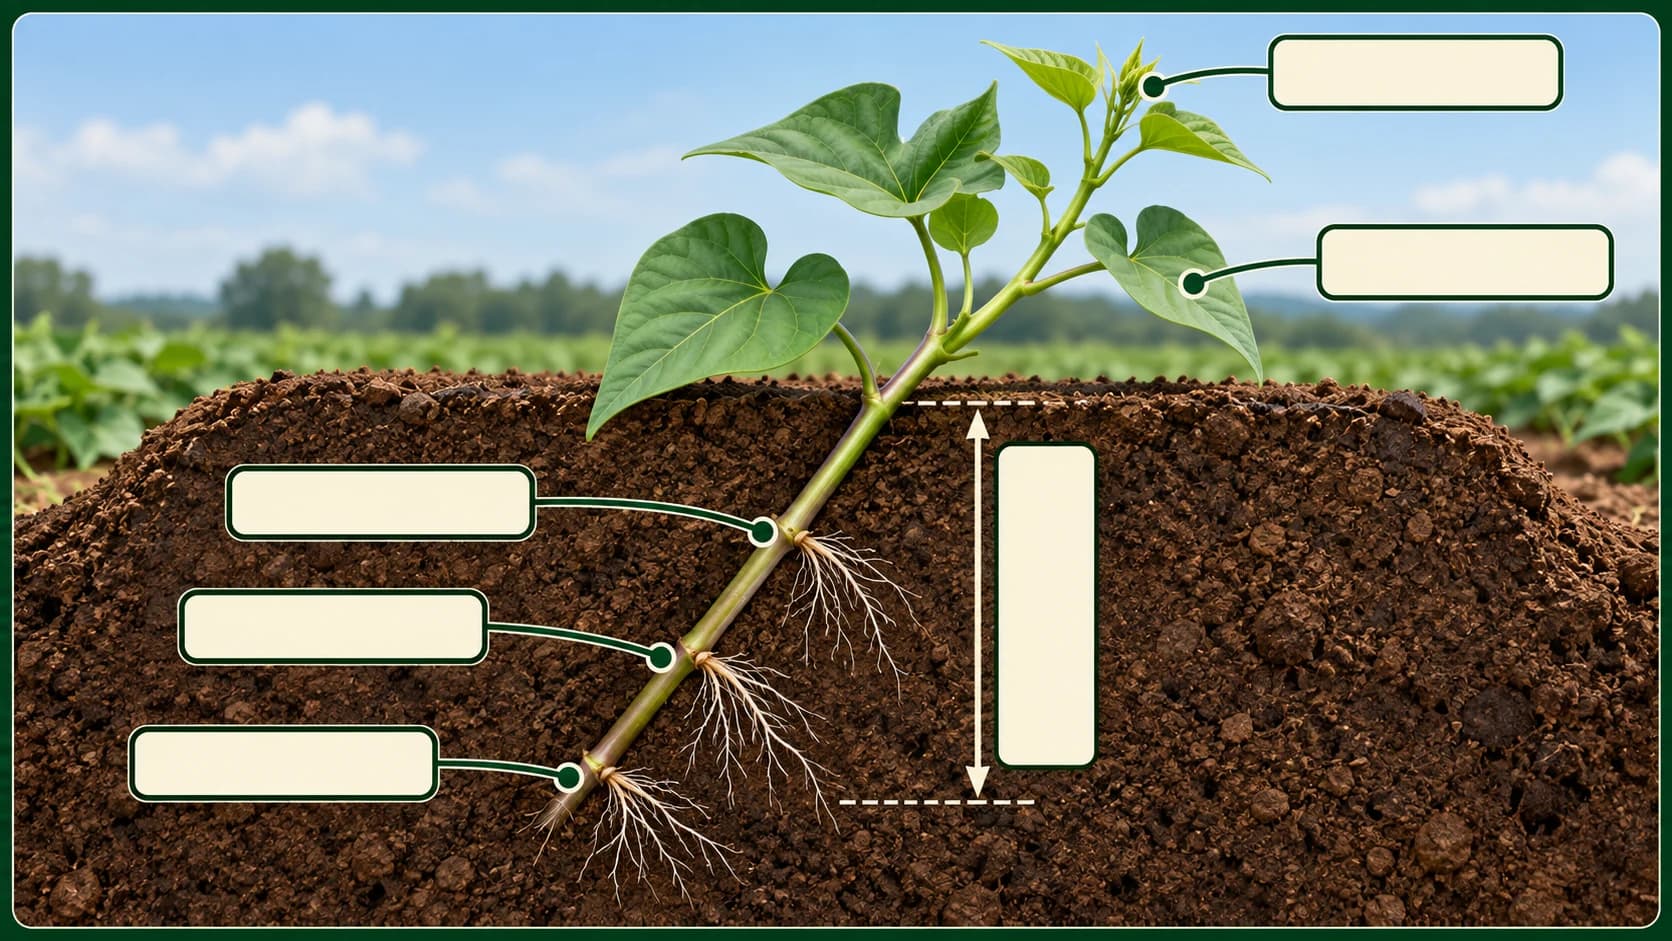
The Moncada trial used 1.1 m between rows and 40 cm between plants. The calculator uses that tested pattern as its default and provides a bounded planning range.
Planting calculator
Estimated slips
22,727
at 110 × 40 cm
Estimate = field area ÷ row-by-slip spacing. Keep values within the published bounds, then match the starting pattern to equipment and target root grade. Headlands and replant allowance are not included.
Step 5 of 7 · Manage
The first weeks determine how evenly slips establish and how the crop competes. Protect the crop from early weed competition and scout for wireworms, flea beetles and root-knot nematodes. Use field history, clean planting material and equipment sanitation to reduce avoidable risk.
Water immediately after setting and maintain enough moisture for root establishment. Track rainfall and soil moisture; avoid keeping beds saturated.
Scout early and maintain a weed-free start through canopy closure. Choose current control methods for the farm’s production system.
Wireworms, flea beetles and root-knot nematodes can downgrade roots. Keep field history and scouting records tied to each harvest lot.
Use certified or otherwise clean slips, avoid carrying soil on slips, and clean equipment after infested fields to limit movement of nematodes and soilborne disease.
Step 6 of 7 · Harvest
Use the cultivar-specific trial results to weigh planting date against marketable root size. Set harvest timing to the planned grade and avoid frost exposure.
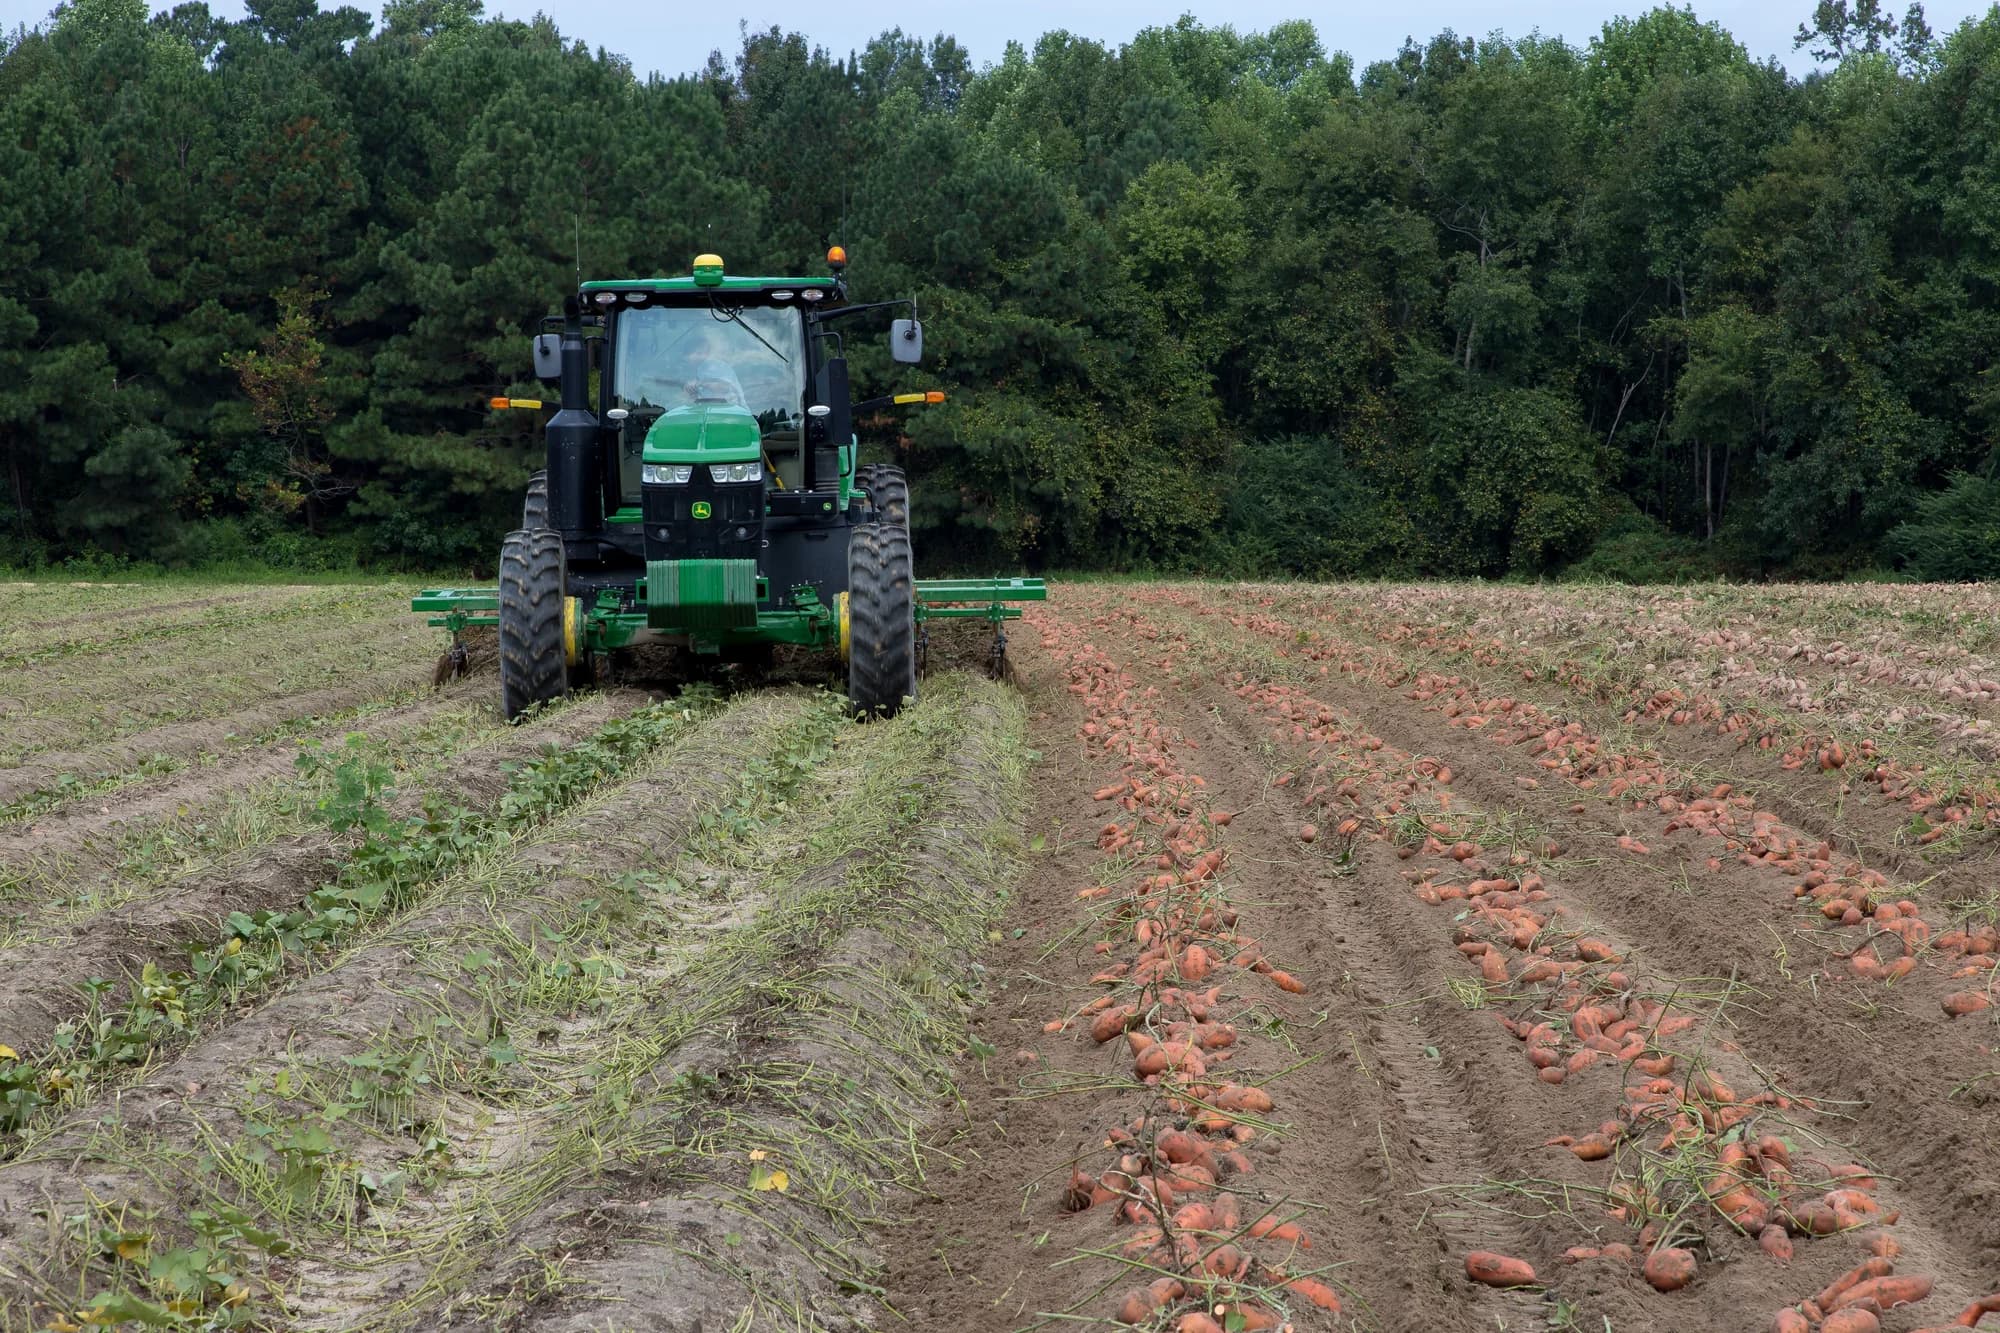
Harvest period
Plan by variety, market size, planting date, field condition and frost risk.
Cure
A crop-level curing reference is 7–10 days with airflow; use the facility and buyer protocol for the harvested lot.
Store
Maintain stable temperature, humidity and ventilation after curing.
Step 7 of 7 · Reference
Moncada, Valencia planting dates of 19 May, 17 June and 11 July, commercial yield and root-size results, and 1.1 × 0.4 m spacing.
European field trial comparing 80 × 20, 80 × 30, 100 × 20 and 100 × 30 cm row-by-plant spacing. Used as a crop-level spacing reference, not a local calendar.
Crop-level soil-temperature context, bed preparation, equipment-led row spacing and the relationship between plant density and root size.
Crop-level transplant establishment, slips, frost sensitivity and raised-bed practice. Missouri calendar dates are not applied to other regions.
Shared crop-level reference for curing and storage conditions. Its Texas planting calendar is used only on the Texas page.
Photo authorship and licence information are recorded centrally. View photo credits.