

Early vine setting
October–November · warmer sitesSet dormant vines after the autumn site work is complete, when soil moisture is suitable and the ground is not waterlogged.
Regional vineyard guide · Tuscany
Tuscany is an established wine-grape region with locally defined production areas and suitable varieties. Establish new vines during dormancy when the site is prepared and soil moisture and temperature are favorable.
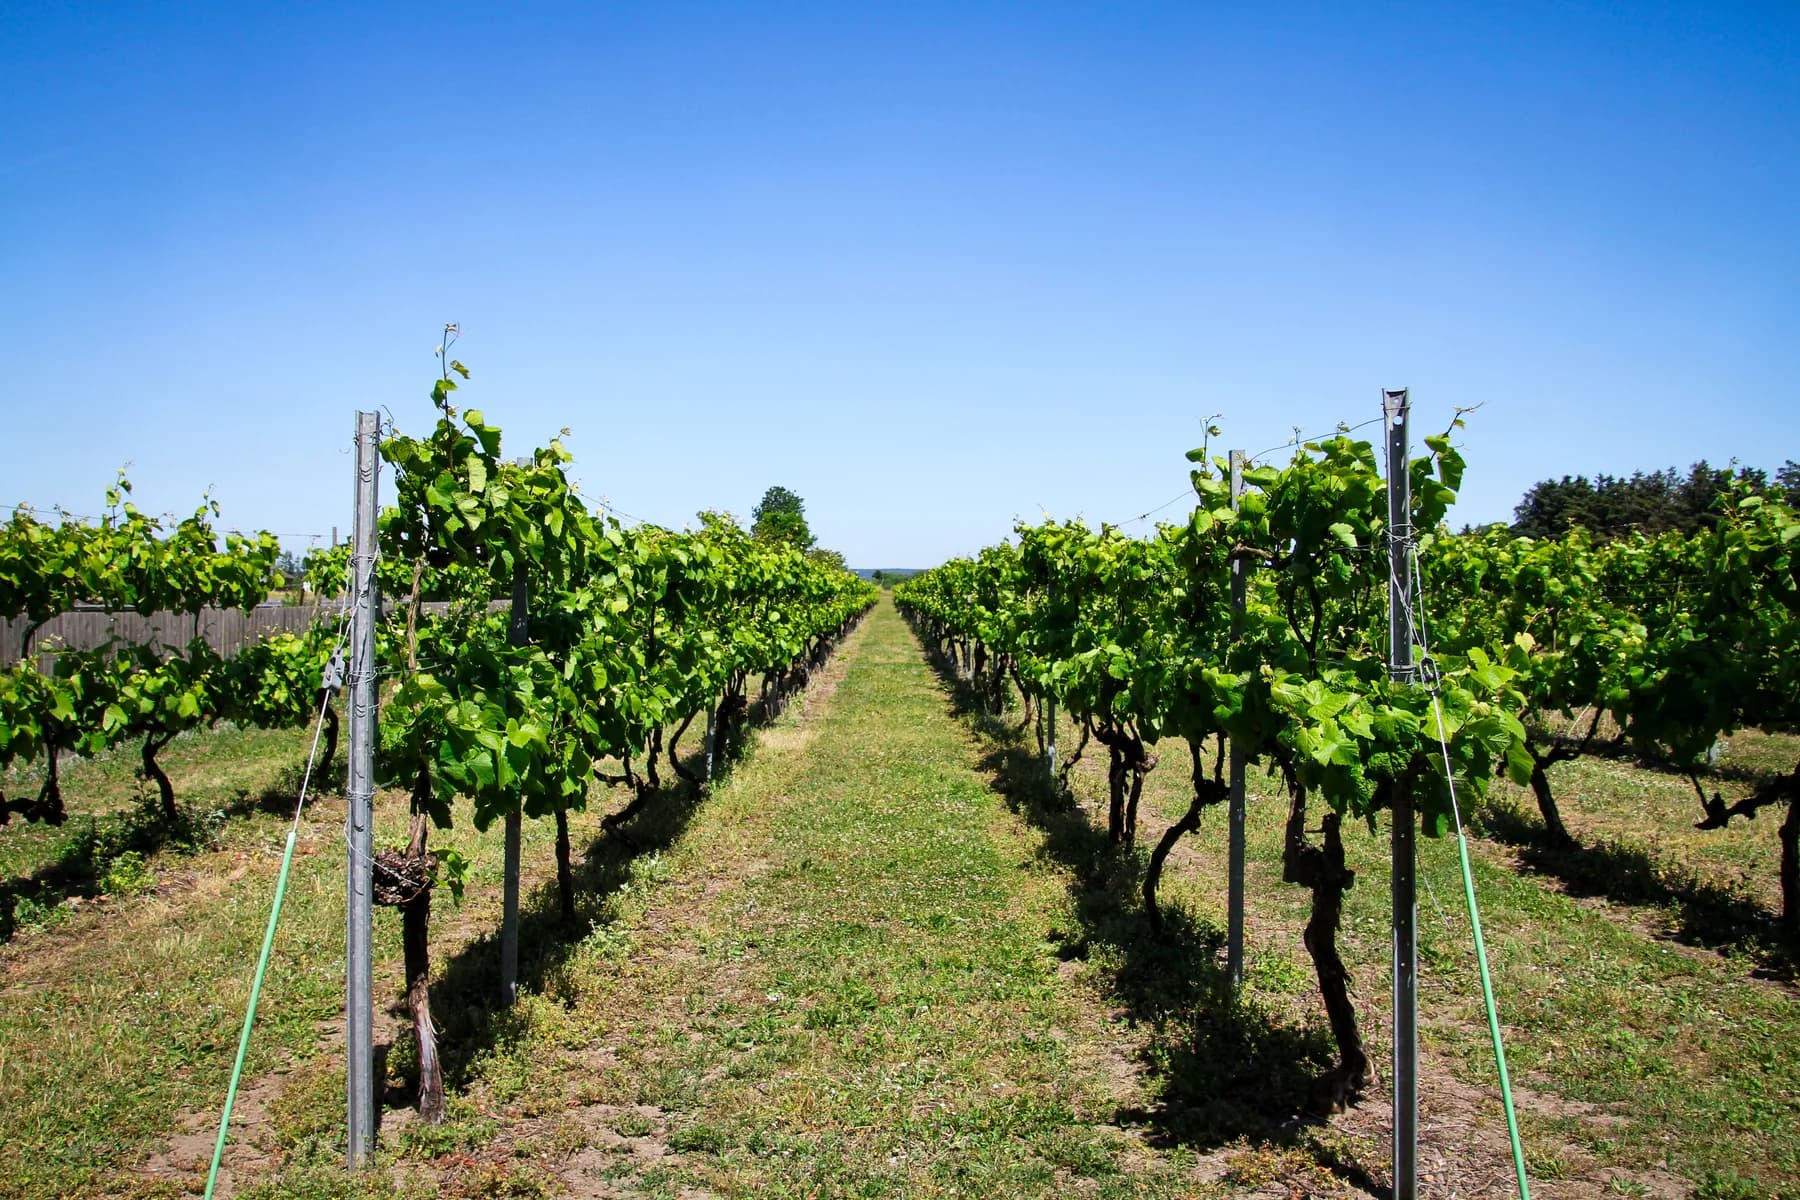
Regional wine-grape vineyards and protected-origin production areas
For vine establishment and management principles, read the general grape guide.
Regional crop context
Regione Toscana describes wine production as strongly oriented toward quality designations and publishes the varieties suitable for wine production in the region. Production areas and cultivar rules vary by designation.
The climate strip uses a single ERA5-Land reference point near Siena (43.4°N, 11.0°E), not an average of all Tuscan vineyards. Hills, elevation, exposure and local soils create important within-region differences.
Step 1 of 7 · Assess
Start with the fruit’s destination and the vineyard’s life-cycle cost. Grapes are perennial vines: cultivar, rootstock, trellis, frost exposure and harvest route must work together for years.
6 topics still to verify· planning aid only, not a suitability score
Selections stay in this browser tab and are not saved or sent anywhere.
Need field-level conditions? Run a coordinate-level farm audit for local terrain, soil and water context.
Step 2 of 7 · Plan
Grapes are established as dormant bare-root vines or rooted potted plants. Stock type, the dormant season and local soil conditions determine the setting period.
Commercial vineyards are established from dormant bare-root vines or rooted potted stock. Use the month grid to choose the regional setting period, then plant when the soil is workable.
The Tuscany regional viticulture manual makes soil moisture and temperature the timing gate, recommends preparing the site the preceding autumn, and warns that late planting can increase irrigation needs and uneven establishment. The month bands apply the university’s broader October–April dormant-vine guidance to warmer and cooler sites.
Month-by-month view
Jan
January · dormant vines
Feb
February · dormant vines
Mar
March · spring alternative
Apr
April · spring alternative
May
Outside window
Jun
Outside window
Jul
Outside window
Aug
Outside window
Sep
Outside window
Oct
October · warmer sites
Nov
November · warmer sites
Dec
December · dormant vines
Set dormant vines after the autumn site work is complete, when soil moisture is suitable and the ground is not waterlogged.
Set vines when soil moisture and temperature support establishment and machinery can travel without compaction. Keep roots protected until planting.
Where winter conditions delay planting, complete it before budbreak. The Tuscan manual notes that late installation can increase irrigation needs and uneven development.
Historical regional climate
Green tiles are months whose mean soil temperature is at or above the 10°C root-growth base; the label on each tile gives the exact reference band. Early, median and late dates show when a seven-day soil-temperature mean first reaches 10°C in historical years. This is root-zone context; the dormant-vine calendar above gives the local setting period.
Early root-zone warming
March 22
10th percentile · 30 complete years
Median root-zone warming
April 04
Median year · 30 complete years
Late root-zone warming
April 19
90th percentile · 30 complete years
Open-Meteo · era5_land · 1996-01-01 to 2025-12-31 · reference point 43.40°N, 11.00°E. Soil values are modeled at 0–7 cm modeled soil layer; regional data are not a field probe or a region-wide spatial average.
Step 3 of 7 · Prepare
Choose permitted cultivars for the production designation and match rootstock to soil depth, active limestone, vigor, water availability and slope. Survey cold-air movement and runoff across hillsides before placing rows.
Prepare the ground in advance; verify drainage and tractor trafficability, then mark straight rows and headlands. Order certified planting stock and coordinate trellis installation with the planting method.
Choose row and vine spacing for the training system, cultivar and rootstock vigor, soil fertility, slope and equipment. Tuscany’s manual stresses field preparation, drainage, trafficability and precise row layout before mechanized planting.
| Chianti Classico DOCG rule | Minimum 4,400 vines/ha at planting; maximum 7.5 t/ha |
|---|---|
| Research vines in Chianti Classico | 3,500 plants/ha on horizontal spur cordon, 30,000 buds/ha |
| Other Tuscan denominations | Have their own density and yield limits; check the specific disciplinare |
Budgets and rules from the sources below; older budgets are labelled and their prices are outdated. These are published designs, not a recommendation for your site. For establishment steps and a cost comparison see the grape growing guide.
Step 4 of 7 · Establish
Plant nursery vines during the regional window above. Prepare the roots, set the vine at its original nursery depth and support new growth.
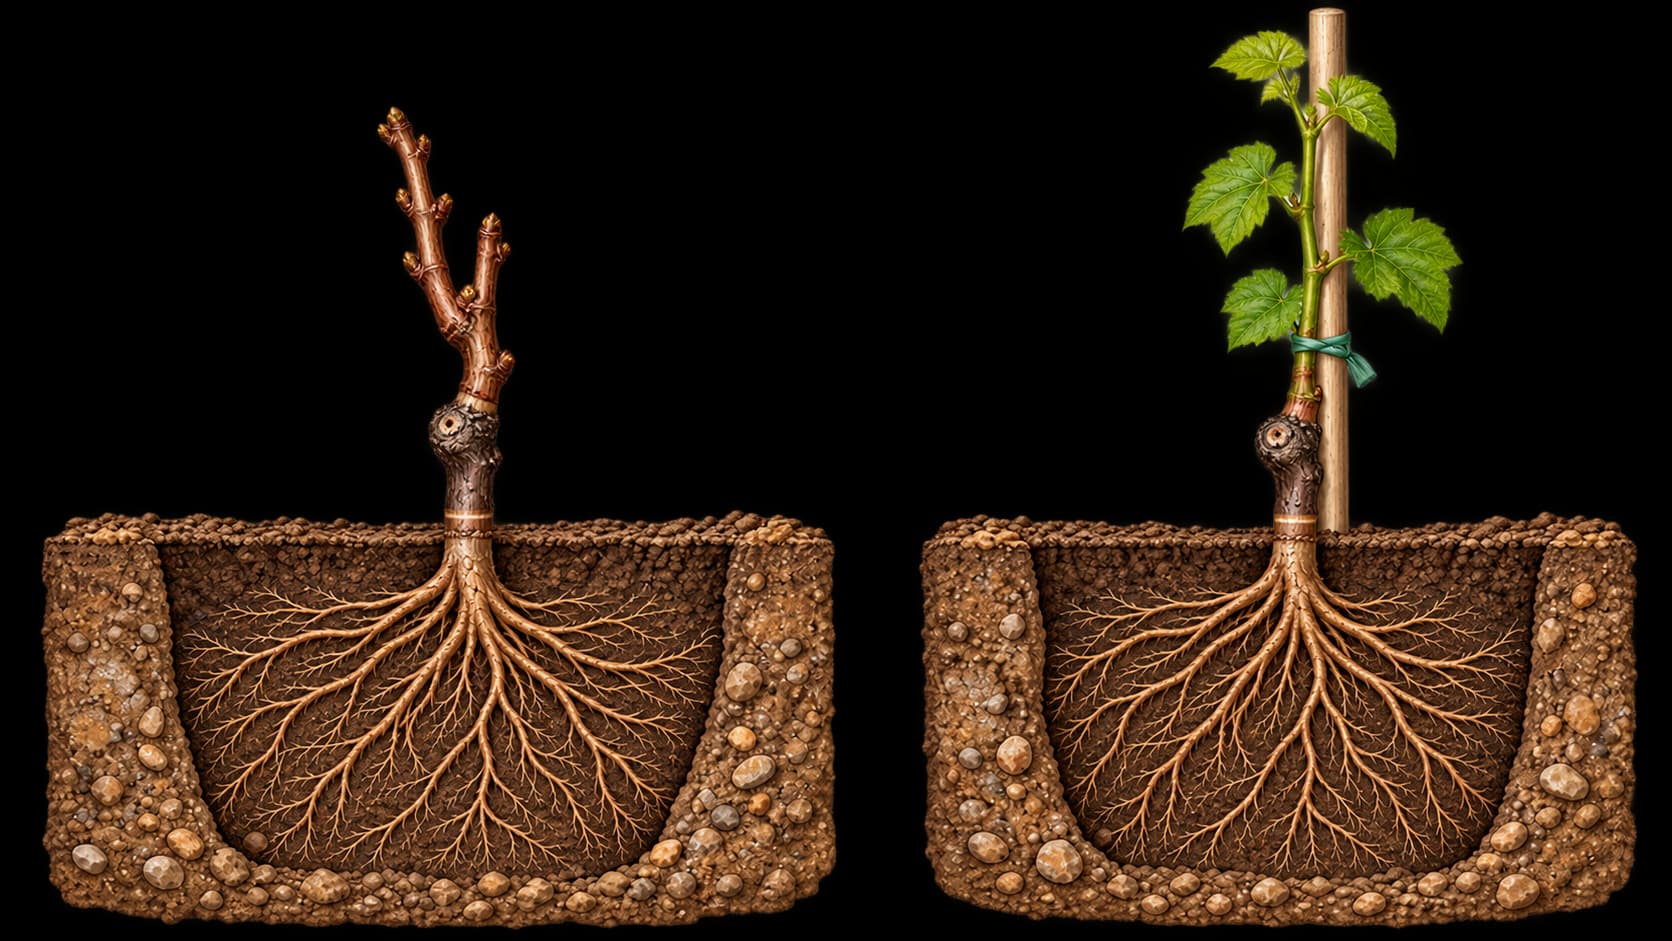
Keep bare roots cool, shaded and moist until planting. Soak them in clean water for a few hours before setting; keep rooted potted vines watered and their root balls intact.
Make a hole wide enough for the roots, set the vine at its nursery soil mark, spread roots without bending or crowding, then backfill and firm the soil.
Water thoroughly after planting. For grafted vines, keep the graft union above the finished soil line; stake and train the new shoot to the chosen trellis.
Years 1–2
Establish roots, trunk and trellis framework. Remove or limit young clusters so growth builds the permanent vine structure.
Years 3–4
A healthy, well-established vine commonly gives its first crop in the third or fourth year after planting.
Years 5–6
Vines typically reach full production around the fifth or sixth year, depending on establishment and management.
Step 5 of 7 · Manage
Tuscany’s sloping vineyards can combine summer water stress with winter or spring soil saturation. Protect young vines from dry establishment periods, avoid traffic on wet soils, and plan drainage and erosion control along rows.
Use irrigation scheduling, soil moisture and local heat forecasts together. The regional soil-temperature chart is a 0–7 cm climate estimate, not the deeper, wetter root zone of a mature vineyard.
Record frost injury, canopy humidity, disease pressure, water status and fruit maturity by block. Choose current pest and disease controls for the crop’s use and local label.
Step 6 of 7 · Harvest
Set maturity and harvest timing by cultivar, elevation, exposure and the target designation. Keep block records for fruit maturity, disease, water status and delivery to the winery.
Regional harvest calendar
The exact start shifts by vineyard, rainfall, cultivar and ripeness. Use these months to plan labor and winery capacity; sample each block to set the picking day.
Jan
—
Feb
—
Mar
—
Apr
—
May
—
Jun
—
Jul
—
Aug
—
Sep
Harvest period
Oct
Harvest period
Nov
—
Dec
—
Typical harvest period
1 · Check maturity
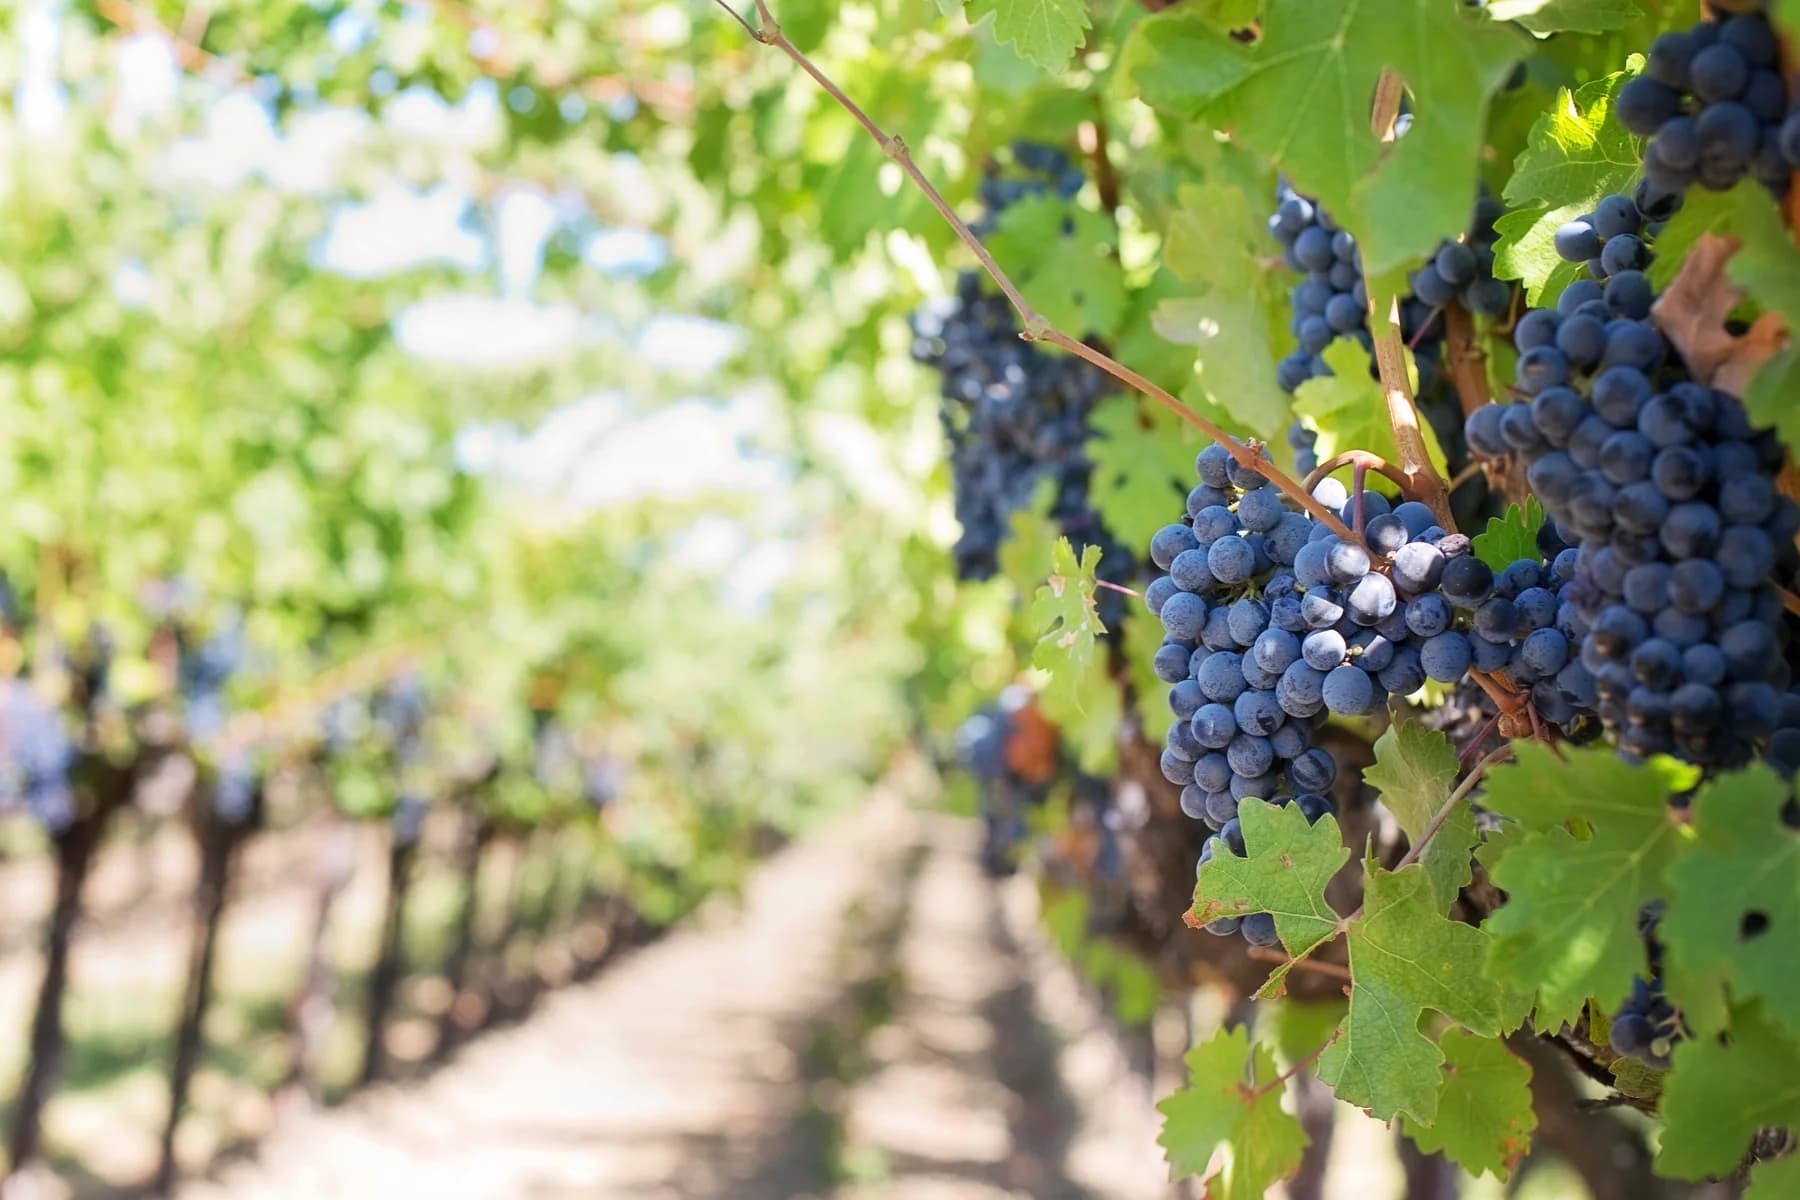
Sample berries from multiple vines and cluster positions. For wine grapes, track °Brix, pH, acidity and flavor against the winery target. For table grapes, check full berry size, sweetness, texture and appearance; color alone is not enough.
2 · Pick the cluster
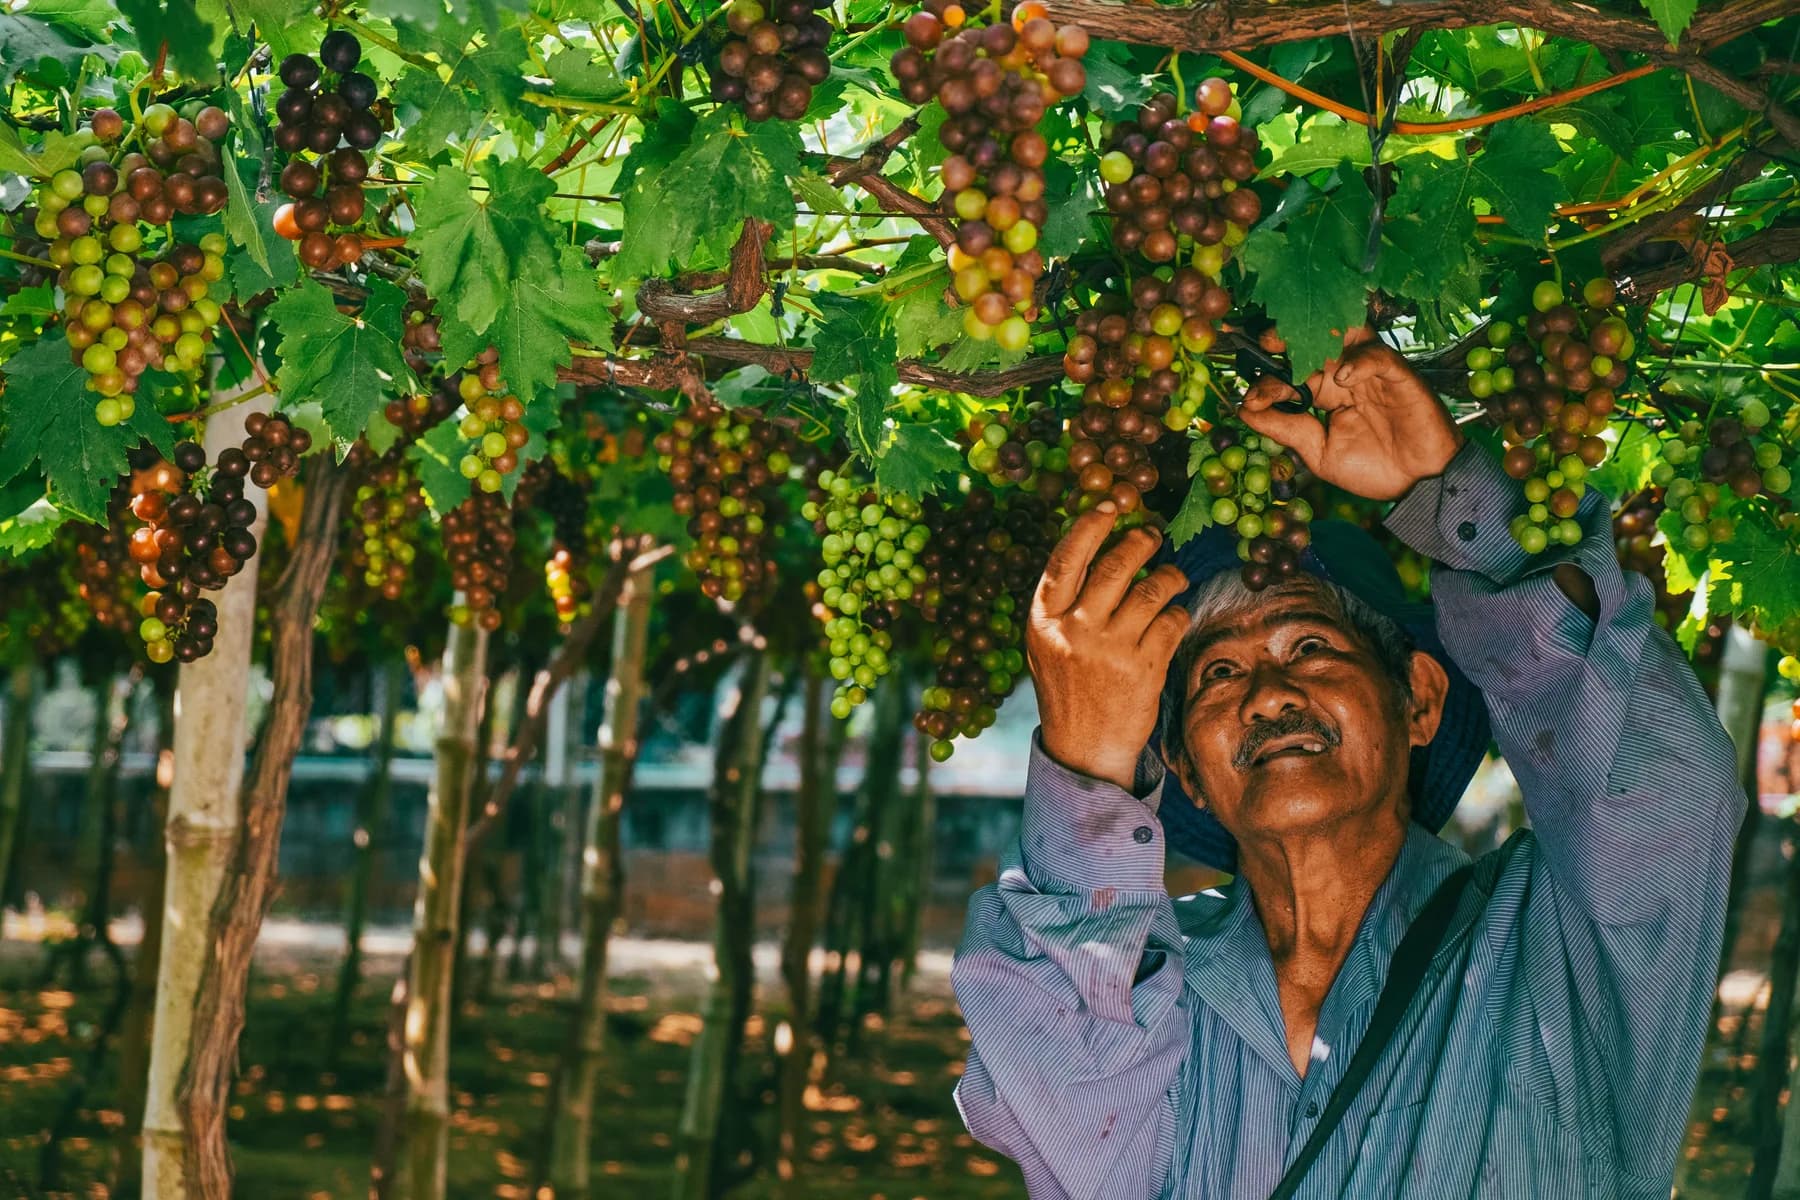
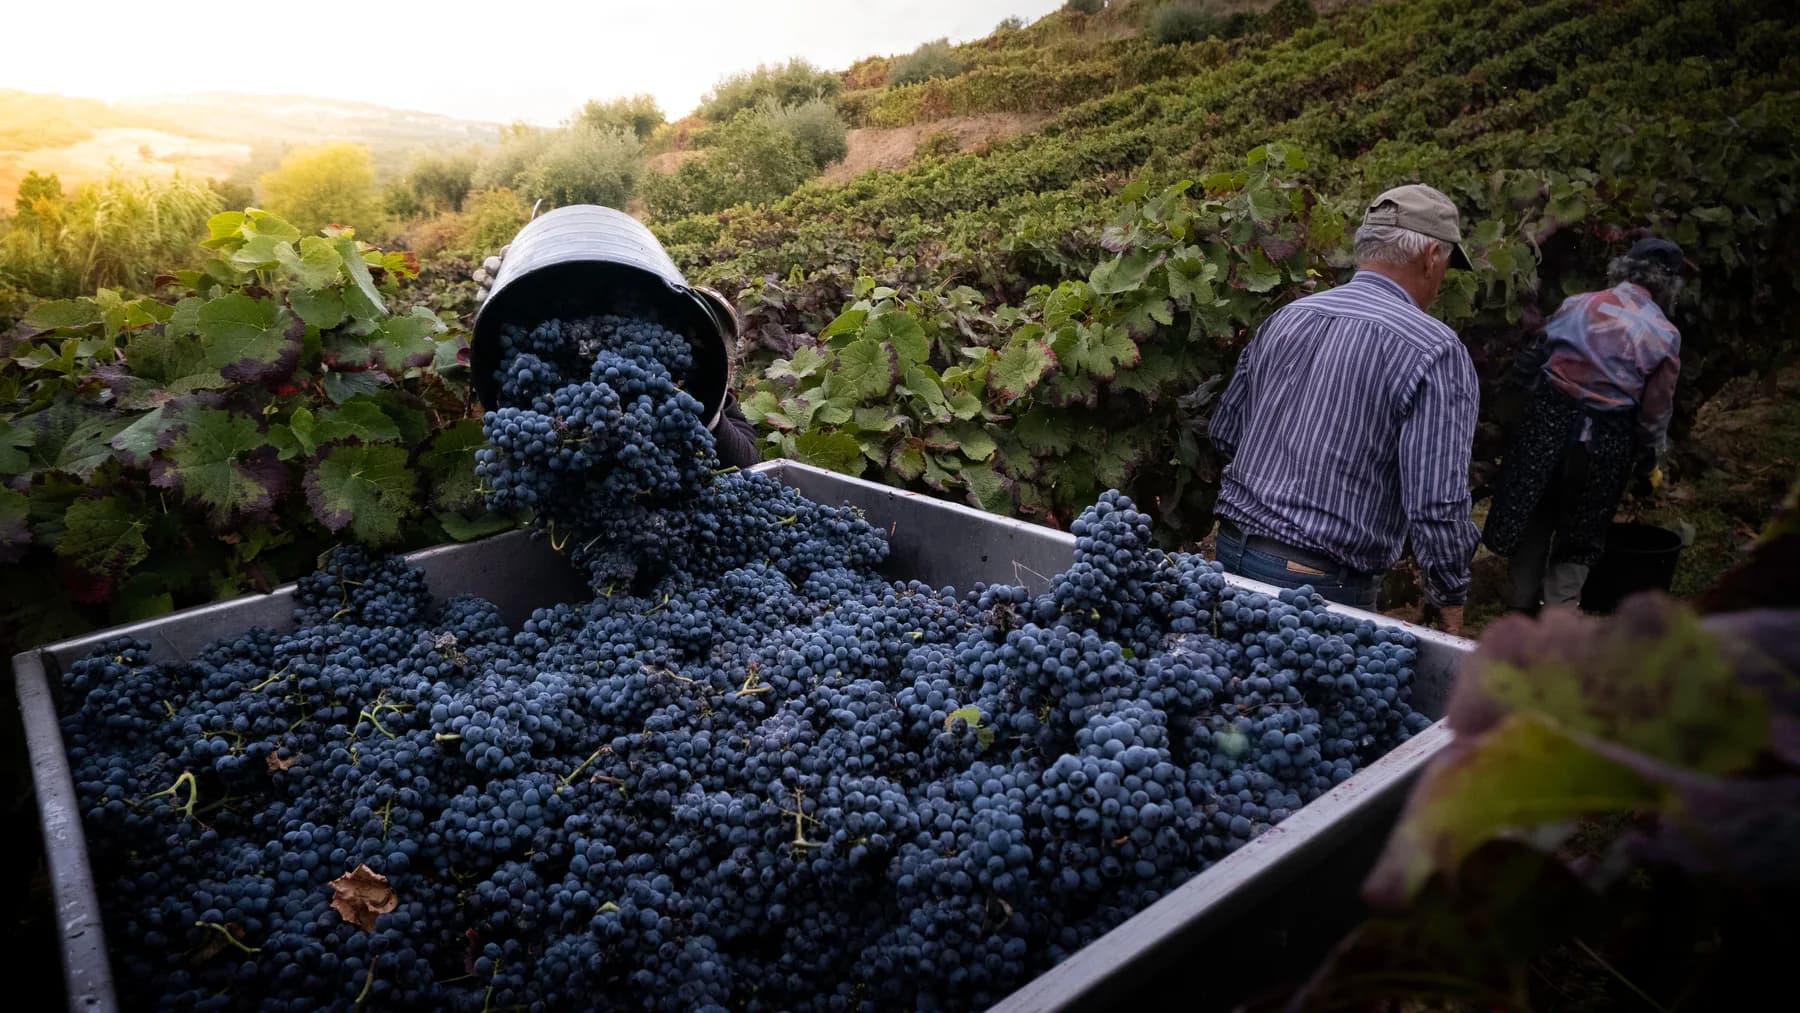
Use clean, sharp harvest shears to cut the stem. Support the bunch and handle it gently so berries and their protective skin coating are not bruised or rubbed.
3 · Move fruit promptly
Place clusters carefully in clean picking containers and move them to the winery, packhouse or processing area. For table grapes, keep fruit dry and cool it rapidly after harvest.
Set the pick date from representative block samples and the winery’s target composition.
Pick by eating quality, cluster condition and buyer grade; harvest uneven blocks in more than one pass.
Match maturity and field logistics to the drying or processing plan.
Step 7 of 7 · Reference
Site preparation, drainage, field trafficability and planting timing based on soil moisture and temperature; it notes late installation can increase irrigation needs and uneven vine development.
Regional wine-production structure, designation system and varieties suitable for wine production in Tuscany.
Tuscan denomination boundaries and varieties transcribed from the appellation production rules.
Identifies September and October as the usual Tuscan vendemmia period and notes that the exact date varies by year, rainfall and vineyard maturity.
A Shiraz experiment found root growth increased with accumulated soil heat; a 10°C base approximated fine-root growth. This is used only for the root-zone warming estimate, not as a planting-temperature prescription.
A controlled Kyoho-vine study describes root activity beginning around 8–10°C at 5 cm and examines 25, 30 and 35°C root-zone treatments. Cultivar and experimental conditions are retained in the interpretation.
Dormant bare-root and container-vine timing, root hydration, planting depth, root spread, firming soil and watering after planting.
Spring planting and handling dormant bare-root vines, including hydration and preparation of the planting hole; local planting windows vary by climate.
Planting holes sized for roots, roots spread in all directions and the graft union kept above the soil surface for grafted vines.
First grape harvest is usually in year three or four after planting, depending on cultivar vigor; clusters that appear in year two should be removed.
Grapevines take several years to produce their first crop and typically reach full production in the fifth or sixth year after planting.
Table-grape maturity cues, clipping the cluster instead of pulling, careful handling and rapid cooling after harvest.
Repeated representative sampling over time, using soluble solids (°Brix), pH, titratable acidity and sensory checks to decide harvest readiness.
Minimum planting density 4,400 vines/ha and maximum 7.5 t/ha for Chianti Classico DOCG; other Tuscan denominations differ.
Six-year study of vines planted at 3,500 plants/ha on horizontal spur cordon with 30,000 buds/ha.
Image credits and usage details are listed on the photo credits page.