

How to grow tomatoes commercially
A commercial tomato crop needs a sales plan, healthy transplants, reliable water and repeated picking. Match cultivar, support system and fruit maturity to the buyer, then coordinate field establishment and harvest capacity.
Scope: Outdoor, transplanted fresh-market production using named US extension references. Texas bed spacing is a system example. Adjust practices to the field and cultivar. Processing and controlled greenhouse systems require separate plans. Updated 2026-10-16.
At a glance
Choose planting weather and soil temperature
- Use measured conditions
- Establish after frost danger has passed, in drained soil with water available. Penn State’s commercial reference waits for soil at 3 inches (7.6 cm) to reach 60°F (15.6°C). Measure the actual planting zone and check the forecast before delivery and field work.1,3,4
- Separate nursery and field decisions
- Schedule transplant production backward from likely field readiness. Penn State describes starting plants 42–56 days before field planting. This is a nursery reference, not a universal crop calendar.4
- Plan for flowering weather
- The Texas commercial guide identifies bloom drop and reduced fruit set above 92°F (33.3°C) air temperature. This concerns flowering, not an upper soil-temperature limit for planting. Match the production cycle to local heat and frost patterns.1
Choose the market and field system
- Agree the sales plan
- Confirm fruit type, size, maturity stage, packaging and delivery frequency with the buyer before ordering plants. Wholesale volume requires sizing, grading and enough packing capacity to move the crop.3
- Budget the actual operation
- Include transplants, bed preparation, supports, mulch, irrigation, repeated picking, grading losses and transport. The small-acreage source identifies high production risk and variable prices. Its historical dollar figures are not a current return forecast.3
Establish clean transplants on prepared beds
- 1
Order
Choose buyer specifications and schedule transplant delivery.
- 2
Prepare
Test soil, form beds and verify irrigation.
- 3
Inspect
Check transplant lots before moving them to the field.
- 4
Establish
Confirm frost and actual planting-zone temperature.
- Choose maturity and resistance
- Match cultivar maturity and resistance to field history and the buyer. The Texas disease handbook favors resistant cultivars for soilborne wilt problems. Resistance does not remove the need for clean stock and rotation.5
- Inspect incoming trays
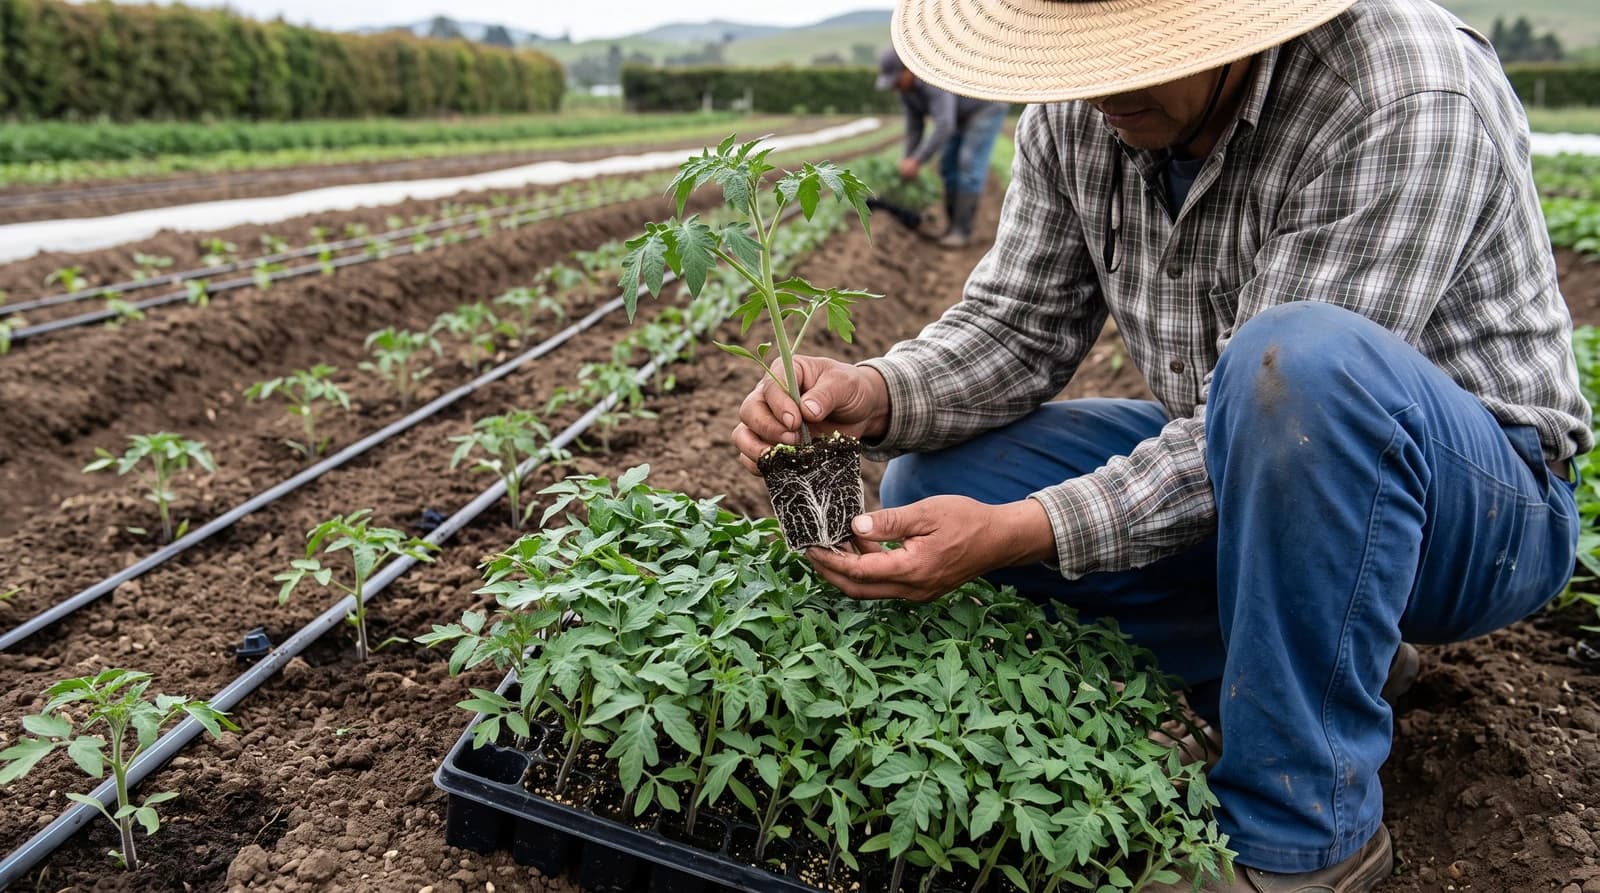
- Check leaves and stems for spotting, wilting and cankers. Separate suspect lots and obtain a diagnosis before field planting. Bacterial disease can spread through nursery trays and infected plants will not become healthy after transplanting.7
Set spacing and support for field access
- Use the commercial bed reference
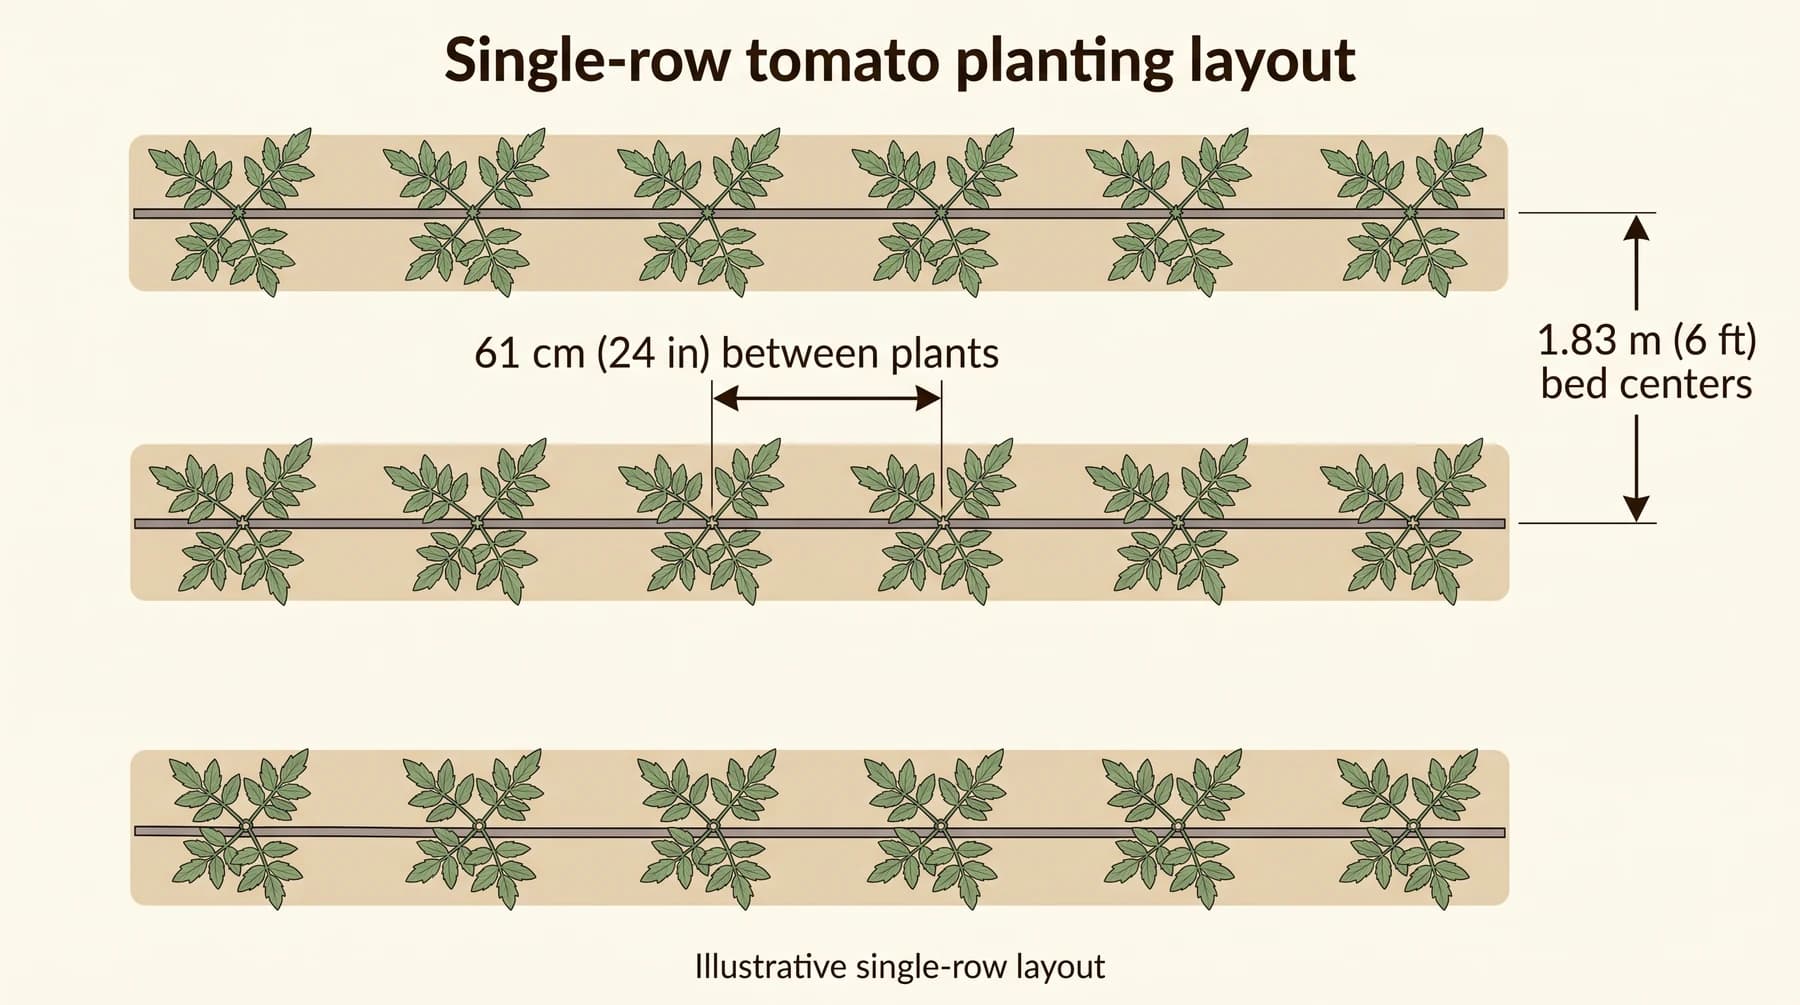
- The Texas guide places plants 18–24 inches apart on 6-foot raised beds. For a single-row layout, label the 6 feet as the repeated bed center interval, not a clear gap between bed edges. Adjust layout for equipment and cultivar.1
Manage irrigation, nutrition and summer heat
- Maintain even moisture
- Use drip irrigation and field moisture checks to avoid dry-to-wet swings. Excess water can worsen cracking. Schedule water for soil, weather and crop demand rather than copying a fixed daily amount.4,5
- Keep fertility tied to tests
- Use the soil test to set a nutrient plan and review plant response as fruit develops. Excess nitrogen and moisture fluctuations can contribute to blossom-end rot. Diagnose the cause before adding another input.4,5
- Watch flowering separately from establishment
- AgriLife associates air temperatures above 92°F (33.3°C) with bloom drop and poor fruit set. Record flowering, heat episodes and saleable yield when evaluating a summer or fall crop.1
Scout disease and protect saleable fruit
- Use field history
- Plan rotation around tomato and related crop disease history. Clean transplants, drainage and resistant cultivars address different risks. Inspect lower leaves, stems and fruit during scouting and record where symptoms begin.5,7
- Respond to moisture and symptoms
- Wet weather favors several leaf and fruit diseases. Soil contact also increases some fruit-rot risks. Diagnose suspicious symptoms and choose current crop-labeled controls with local extension advice.5
Pick to the buyer grade and control handling
- 1
Inspect maturity
Match the fruit to the intended buyer grade.
- 2
Grade gently
Separate defects and avoid crushing fruit.
- 3
Handle by stage
Use temperature appropriate to maturity and duration.
- 4
Dispatch
Retain lot identity through packing and delivery.
- Plan repeat picking
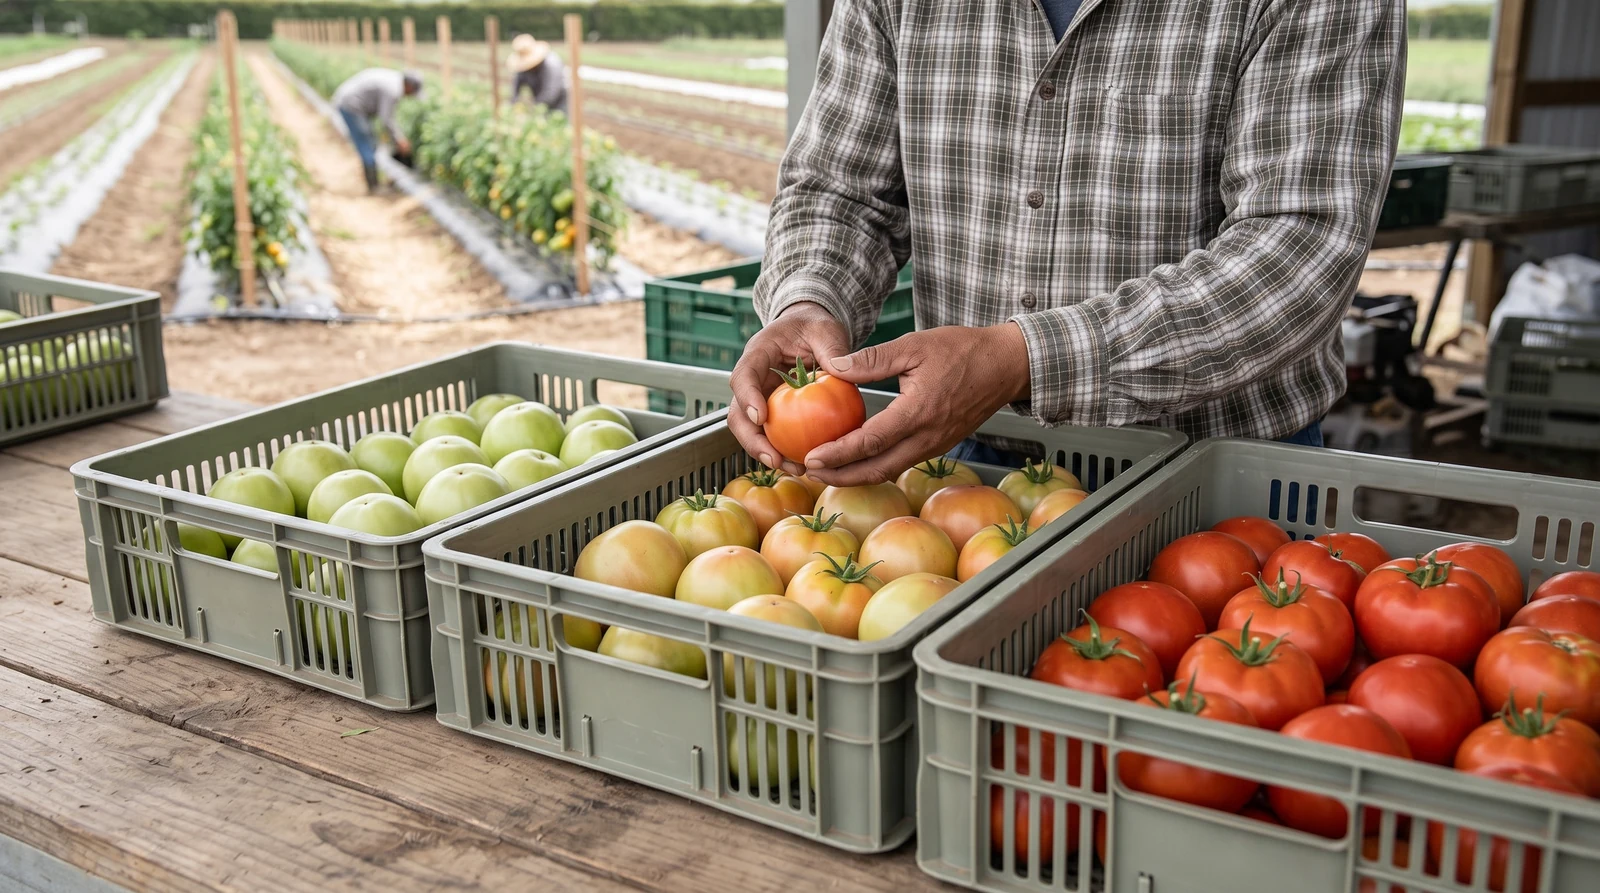
- Agree maturity specifications and inspect readiness repeatedly. Picking, grading and dispatch can become the limiting operations as volume increases. Provide clean containers and protect fruit from compression.3,6
- Set temperature by maturity
- UC Davis gives 12.5–15°C for mature-green fruit, 10–12.5°C for light-red fruit and 7–10°C for firm-ripe fruit held only 3–5 days. Ripening uses 18–21°C and 90–95% relative humidity. Do not use one refrigeration setting for every lot.6
Frequently asked questions
- When should a farm transplant tomatoes?
- Follow local frost risk, actual planting-zone temperature, field moisture and water availability. This general guide gives conditions rather than universal calendar months.
- Are planting and flowering temperature limits the same?
- No. Soil temperature affects establishment, while air temperature influences flowering and fruit set. The cited values describe different crop stages.
- What spacing should a commercial farm use?
- Match cultivar, supports and machinery to the system. The illustrated layout is the cited Texas commercial single-row bed reference, not a recommendation for every production system.
- Should field tomatoes be supported?
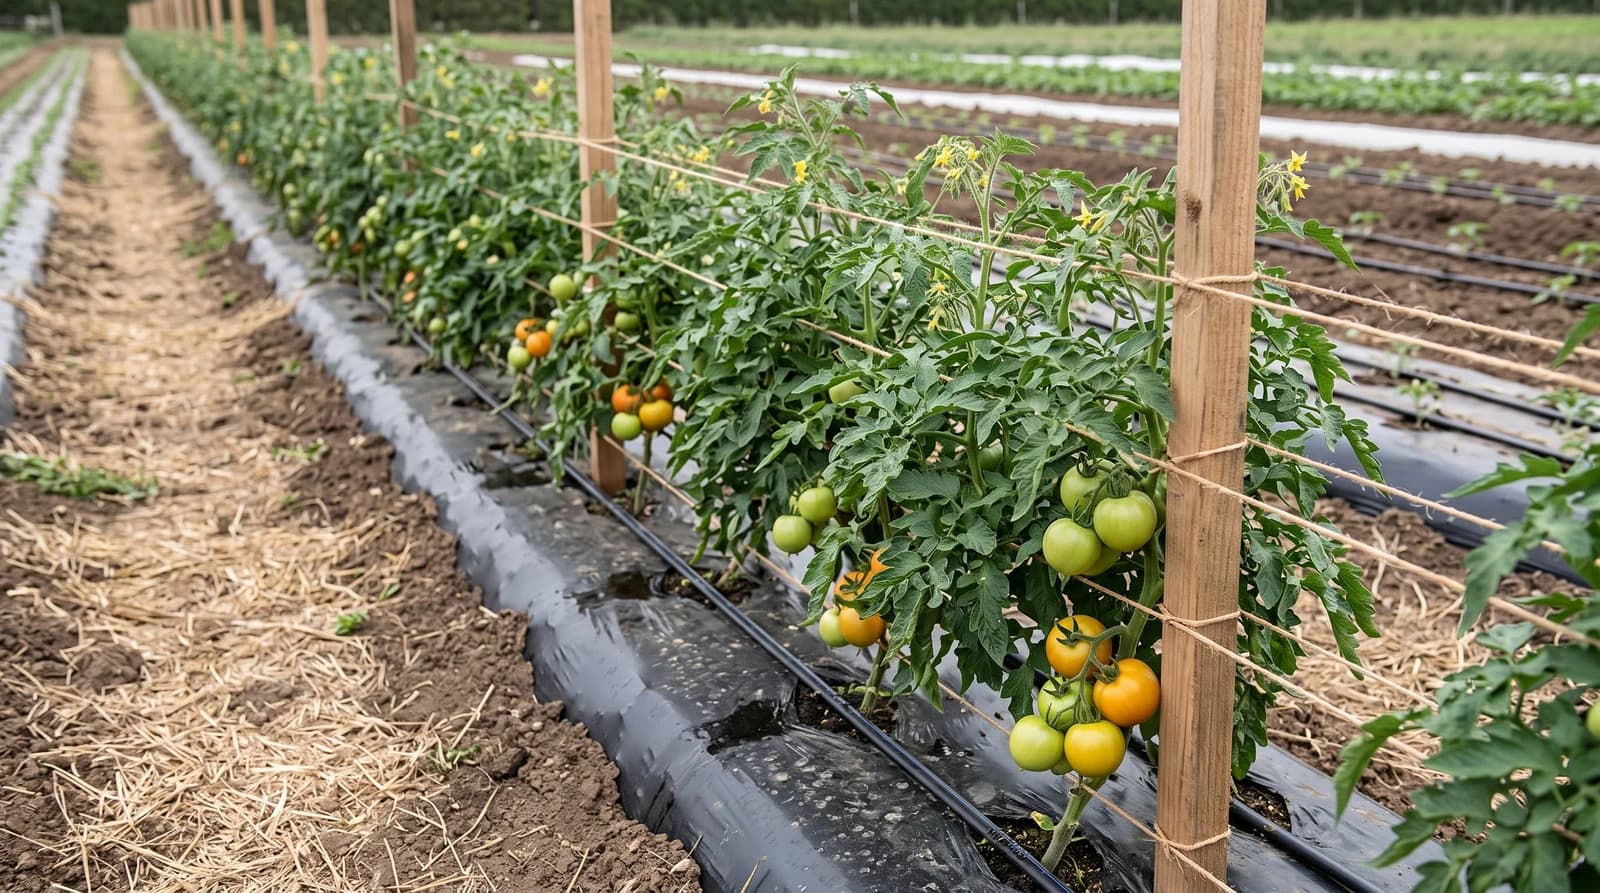
- Support is part of the fresh-market system described here. It keeps fruit off soil and improves picking access. The arrangement must suit cultivar and crew operations.
- Does this guide cover processing tomatoes?
- It covers outdoor transplanted fresh-market tomatoes. Processing contracts and mechanical harvest need a separate cultivar, layout and maturity plan.
- How should tomato storage be planned?
- Use fruit maturity, handling duration, cultivar and buyer requirements. One cold-room setting is unsuitable for every tomato lot.
Regional guides and field planning
Sources and image credits
- 1. Texas A&M AgriLife — Commercial tomato crop guide — Undated guide, hosted in 2011 archive; reviewed October 2026. Commercial establishment, bed spacing, support, heat effects and picking. Historical chemical lists are not current treatment recommendations.
- 2. Texas A&M AgriLife — Central Texas tomato planting and harvest — Undated; reviewed October 2026. Central Texas month references only. Food preparation and household storage advice is not used as a commercial handling protocol.
- 3. Texas A&M AgriLife — Field-grown tomatoes for small-acreage producers — Undated; reviewed October 2026. Buyer, labor, irrigation and packing requirements. Historical cost, price and profit figures are not current budgets.
- 4. Penn State Extension — Tomato production — Commercial production reference; reviewed October 2026. Transplant soil-temperature minimum at 3 inches, nursery lead time, soil testing and moisture. Transferred production guidance, not Texas planting dates.
- 5. Texas A&M AgriLife — Tomato disease handbook — Undated; reviewed October 2026. Field history, disease prevention, resistance and moisture-related disorders. Diagnose locally and use current labeled controls.
- 6. UC Davis — Tomato postharvest produce facts — Updated May 1997. Maturity-specific commercial storage, ripening and chilling sensitivity. Cultivar and buyer specifications can change handling needs.
- 7. University of Minnesota Extension — Tomato transplants and bacterial disease — April 2022. Commercial transplant inspection and sanitation. Nursery disease guidance transferred to Texas, not a local incidence estimate.
Image credits
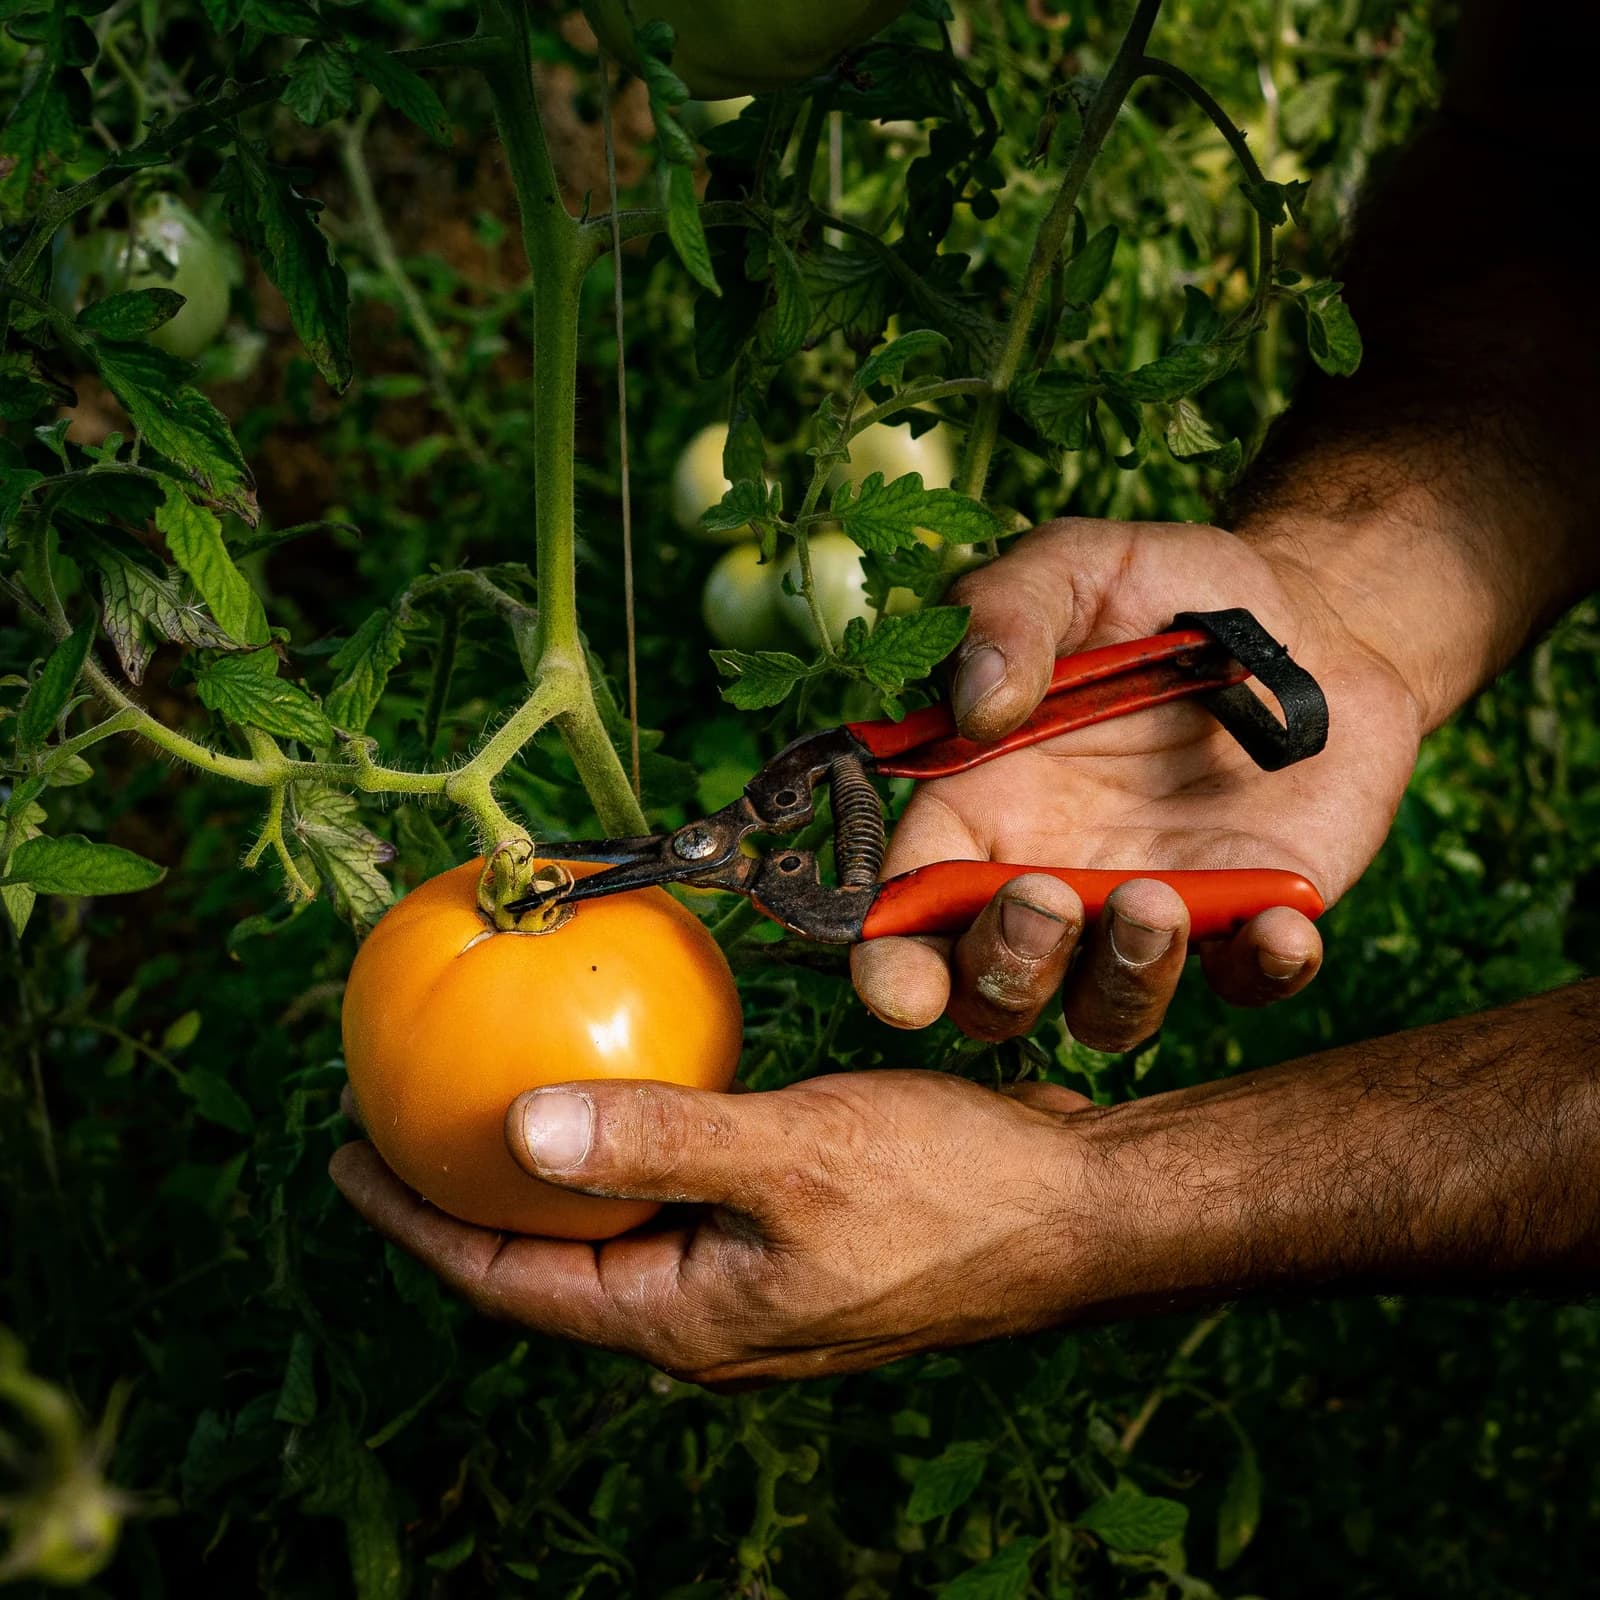
- Harvesting a tomato by supporting the fruit and cutting its stalk. Photo: Alex Grandidier / Pexels. Pexels License. Location not verified.
- Inspecting tomato transplant roots before establishment. Support the root plug and handle seedlings gently. Illustration.
- Texas commercial layout example: 61 cm (24 in) between adjacent plant centers, within the cited 18–24 in range, and 1.83 m (6 ft) between bed centerlines. Source 1. Schematic, not to scale. Illustration.
- Supported fresh-market tomato plants on a mulched field bed. Illustration.
- Sorting harvested tomatoes by visible ripeness. Surface color alone does not confirm internal mature-green readiness. Illustration.
Figures are published averages or study assumptions for the places named, not guarantees for your field. Check current local recommendations and product labels before acting.