

Growing tomatoes in Minnesota
Build a Minnesota fresh-market tomato plan around the frost-free field season, cultivar maturity and picking capacity. Establish healthy transplants in warm soil, keep foliage dry and organize grading before the first fruit is ready.
Scope: Outdoor transplanted fresh-market tomatoes. High tunnels and heated greenhouses have different establishment and disease conditions; their earlier schedules are not represented by this outdoor calendar. Updated 2026-10-05.
At a glance
Planting and harvest calendar for Minnesota
Use the source-backed production windows to coordinate establishment, crop care and harvest. Production districts and cultivars can have different cycles; the historical climate adds context for the field plan.
Planting: UMN outdoor starting reference: June 18,4
A planning start, not a whole-month guarantee or a planting deadline. Delay if local frost risk or actual soil conditions are unsuitable.
Harvest: Calculated first-harvest reference: late July–August8
June 1 plus 50–70 days for cherries gives July 21–August 10; plus 65–85 days for slicers/Romas gives August 5–25. These are first-pick illustrations, not the full harvest season. Later establishment, weather and cultivar alter timing; frost limits continued picking.
Planting climate heatmap
Reference period: 1996-01-01 to 2025-12-31. ERA5-Land monthly mean soil temperature at 0–7 cm, air temperature and frost days at the regional reference point (46, -94.5). Select a month to inspect its historical conditions.
Transferred Penn State commercial minimum: soil at 3 inches (7.6 cm) reaches 60°F (15.6°C). Historical 0–7 cm monthly means are a shallow proxy. The screen checks this minimum and frost context, not the remaining season or an upper planting threshold.4
Muted green: the temperature meets the sourced minimum and no mean frost days recorded. Neutral tiles name the temperature or frost constraint. Gray: missing data. No upper soil-temperature limit is assessed. This screen does not assess the full growing season, field drainage or crop maturity.
June: Meets minimum
The monthly mean meets the sourced planting-temperature minimum, with no mean frost days recorded. Confirm actual planting-zone conditions and the local crop calendar. This is a partial climate screen, not a guarantee of establishment.
- Mean topsoil temperature
- 18.8°C
- Mean air temperature
- 19.5°C
- Mean frost days per month
- 0.0 days
These are monthly means at one reference location. They describe seasonal field conditions, not crop maturity, actual seed-zone conditions, frost forecasts or a planting recommendation. Harvest bands follow the crop-specific production sources above.
Climate source: Open-Meteo Historical Weather APIChoose the market and field system
- Match the crop to the buyer
- Agree fruit type, size, maturity and delivery frequency. Decide whether repeat fresh-market picking fits your crew and packing facilities. Use your own labor and rejection records in the budget; historical Texas prices are not Minnesota forecasts.3
- Separate outdoor and protected systems
- A tunnel changes ventilation, support, labor and disease exposure. Bacterial canker spreads readily during repeated handling in protected crops. Plan that system separately from the field calendar and identify which production system each lot came from.9
Establish clean transplants on prepared beds
- 1
Order
Choose buyer specifications and schedule transplant delivery.
- 2
Prepare
Test soil, form beds and verify irrigation.
- 3
Inspect
Check transplant lots before moving them to the field.
- 4
Establish
Confirm frost and actual planting-zone temperature.
- Confirm transplant readiness
- Use the local nursery reference above to book delivery, then judge the plants themselves. Prepare the field and check actual planting-zone temperature before bringing trays out. A monthly historical mean cannot show a cold spell on planting day.4,8
- Inspect and separate incoming lots
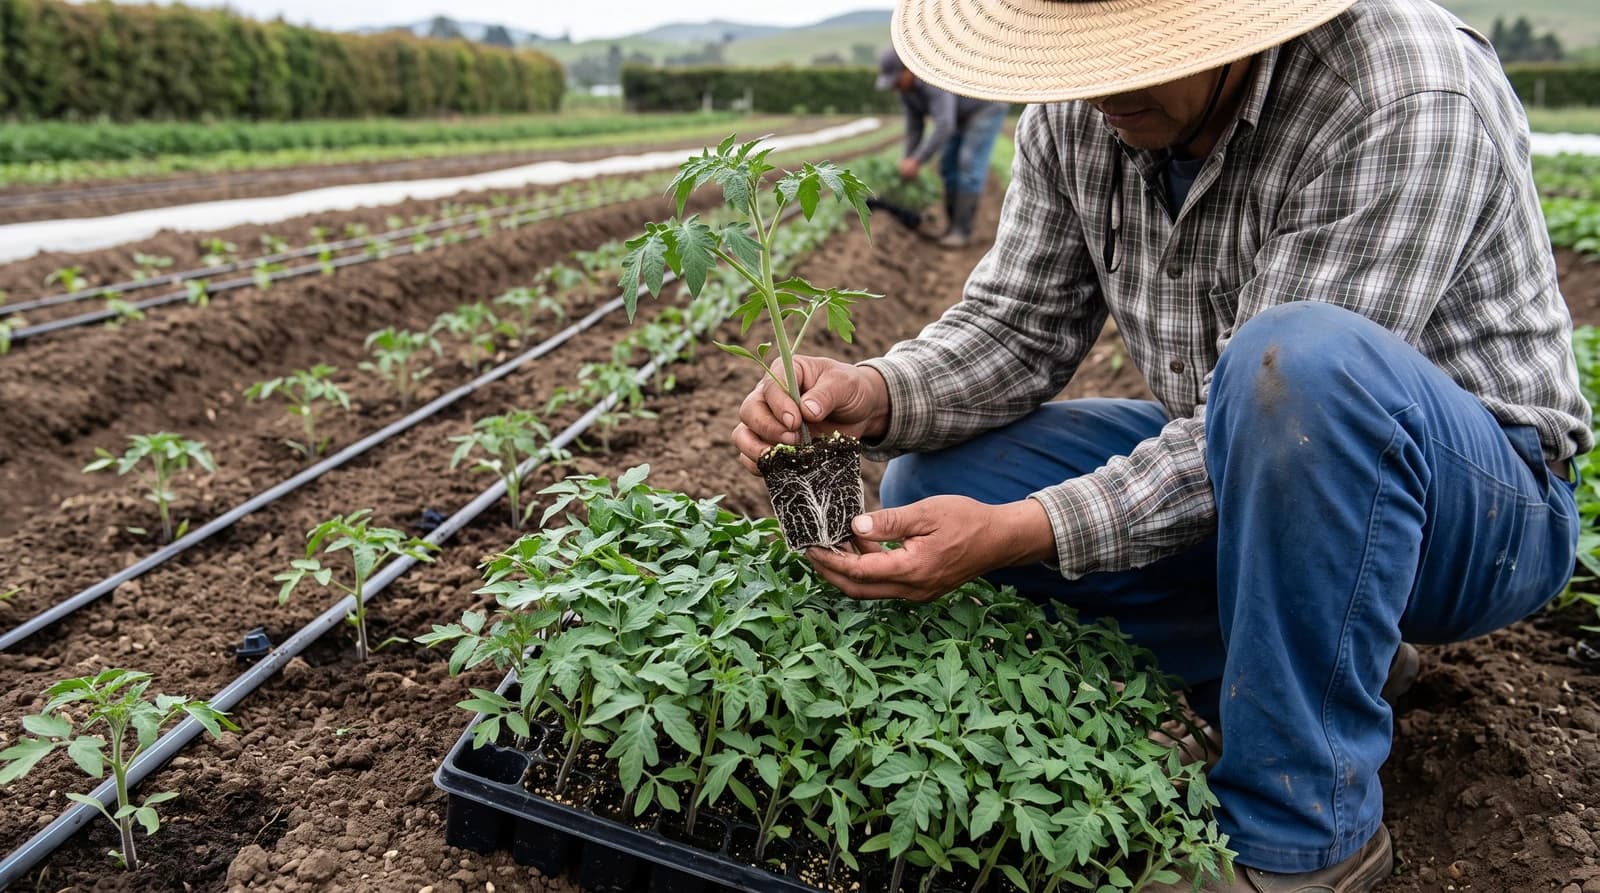
- Check for leaf spots, wilting and stem symptoms. Keep suspect trays separate and seek a diagnosis before planting. Nursery bacterial diseases spread between plants, and apparently clean plants can already be infected.7,9
- Prepare soil and water
- Soil-test ahead of bed preparation, correct drainage problems and have irrigation operating before delivery. Base amendments on the field test and maintain moisture around the root plug during establishment.4
Lay out beds for support and harvesting
Manage water, nutrition and canopy drying
Scout Minnesota disease risks
- Start early-blight scouting early
- UMN reports early blight nearly every Minnesota season, often appearing in mid to late June. Examine lower leaves for enlarging spots and concentric rings. Use resistant cultivars, mulch and rotation; resistance reduces damage but does not make plants immune.10
- Confirm bacterial canker
- Wilting, discolored leaf edges and stem or fruit symptoms can have several causes. Send suspect material to the UMN Plant Disease Clinic. Prevention starts with clean stock; no tomato variety is listed as resistant to bacterial canker in the cited source.9
Pick to the buyer grade and control handling
- 1
Inspect maturity
Match the fruit to the intended buyer grade.
- 2
Grade gently
Separate defects and avoid crushing fruit.
- 3
Handle by stage
Use temperature appropriate to maturity and duration.
- 4
Dispatch
Retain lot identity through packing and delivery.
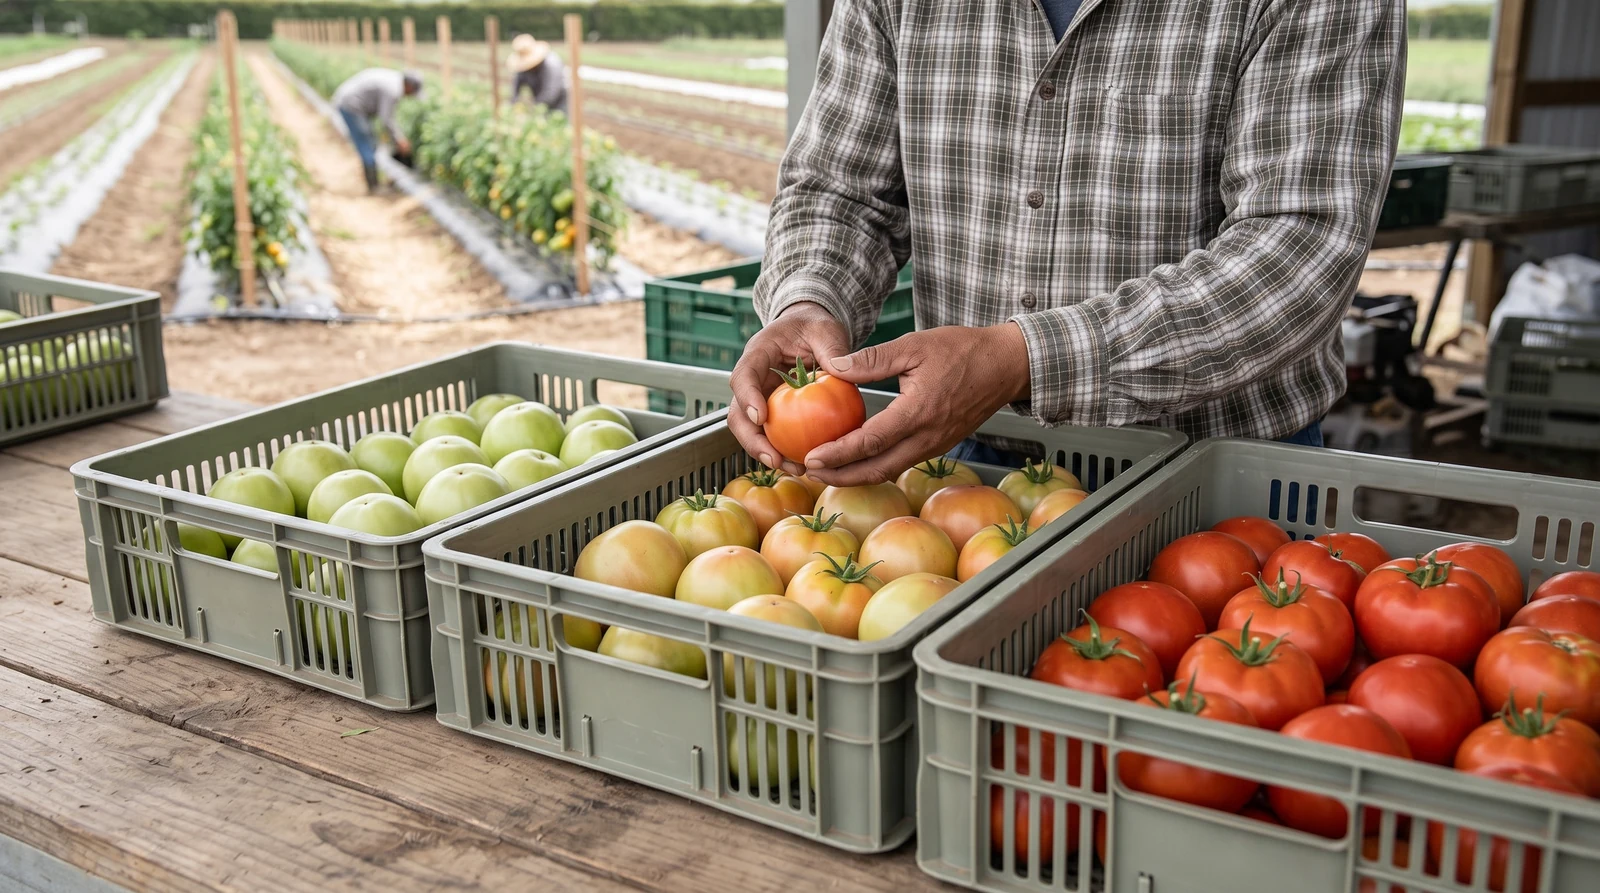
- Plan the first pick and repeat harvest
- Use the calculated calendar as a staffing starting point, then inspect actual maturity. Picking continues according to plant habit, buyer grade, crop health and frost. Reserve enough clean containers, grading space and dispatch capacity for peak volume.3,8
- Set temperature by maturity
- UC Davis gives 12.5–15°C for mature-green fruit, 10–12.5°C for light-red fruit and 7–10°C for firm-ripe fruit held only 3–5 days. Ripening uses 18–21°C and 90–95% relative humidity. Do not use one refrigeration setting for every lot.6
Frequently asked questions
- Is June 1 a planting rule for every Minnesota farm?
- It is a University of Minnesota outdoor planning reference. Actual frost risk, soil temperature and field readiness determine whether your transplants can be established.
- Are July and August the entire tomato harvest season?
- No. The displayed band illustrates first picking from a June 1 transplant date and the cited maturity ranges. Continued harvest depends on plant habit, crop condition and local frost.
- Does this calendar apply to high tunnels?
- No. The guide covers outdoor establishment. A tunnel needs its own temperature, ventilation, disease and labor plan.
- Does a green climate tile mean there is enough season left?
- No. It screens a historical soil-temperature minimum and frost context. It does not calculate remaining days to maturity or predict the current season.
- Is the schematic a Minnesota spacing prescription?
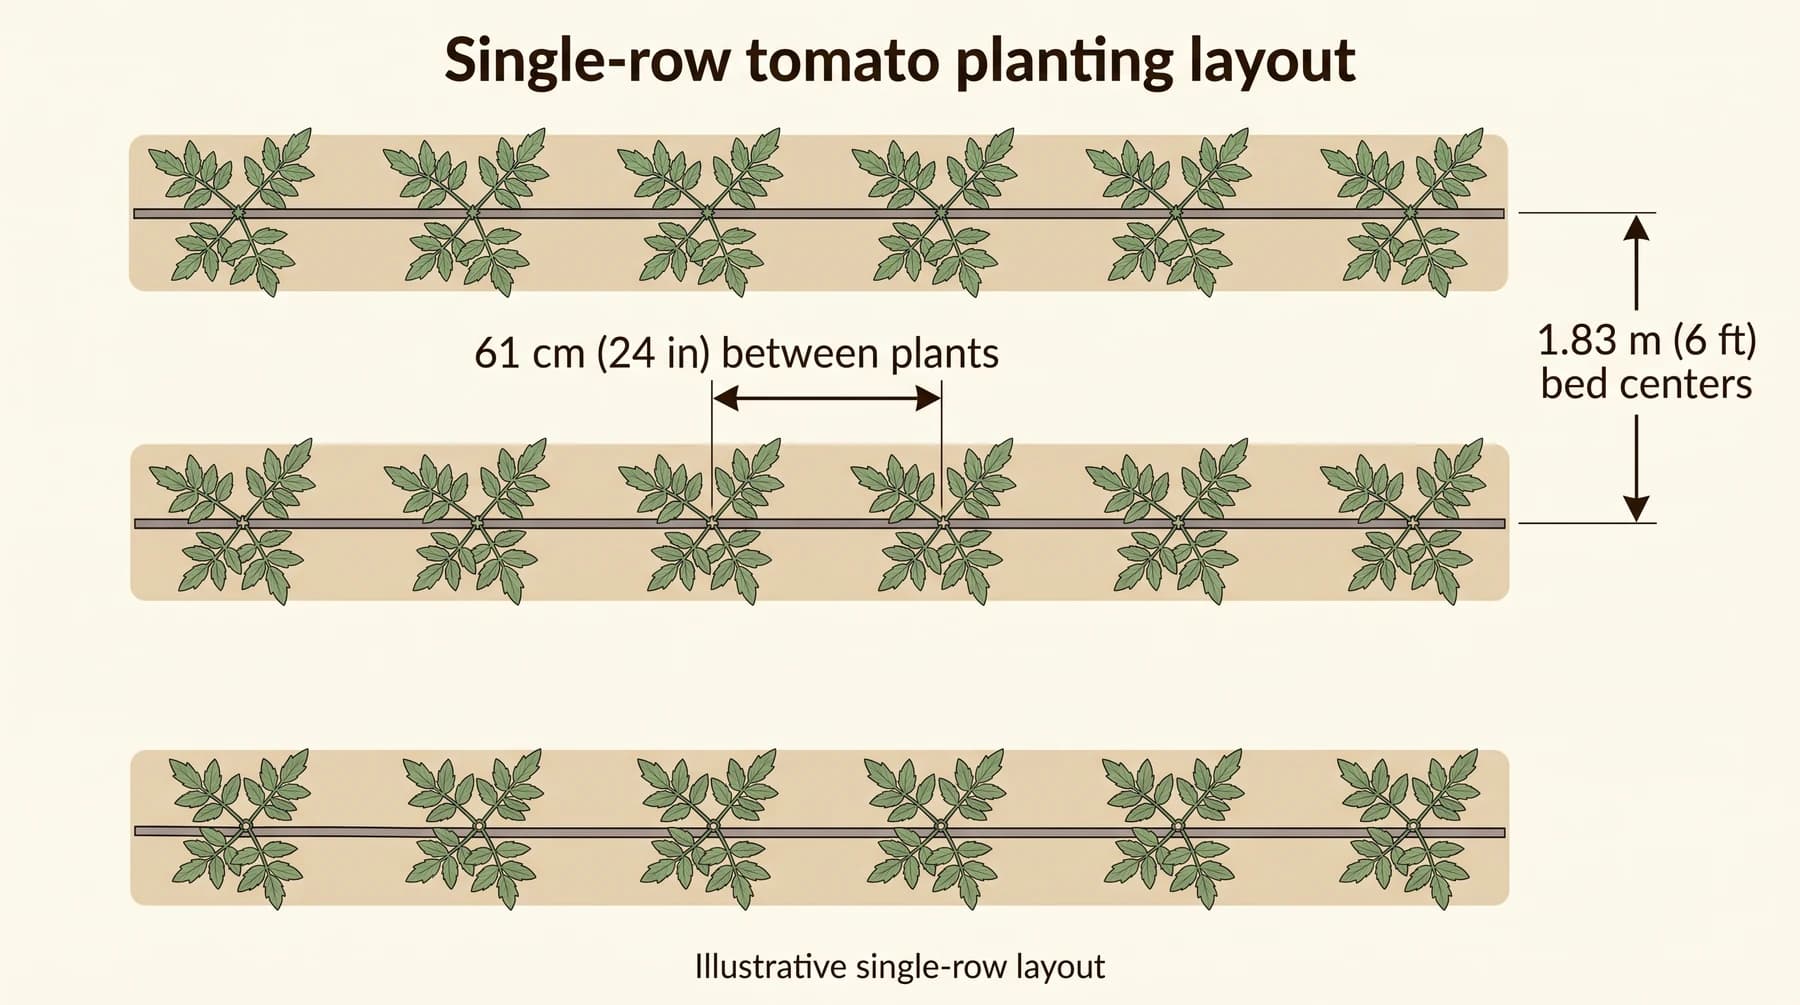
- The 24-inch in-row example fits the Minnesota field slicer/Roma range. Its 6-foot bed center interval is a labeled Texas example to adapt for equipment and field conditions.
- Can every tomato lot go into the same cold room?
- Use maturity-specific temperatures and buyer requirements. Mature-green, light-red and firm-ripe fruit have different storage needs and chilling risks.
Regional tomatoes guides
Local dates, soil-temperature history and sources for specific regions:
Sources and image credits
- 1. Texas A&M AgriLife — Commercial tomato crop guide — Undated guide, hosted in 2011 archive; reviewed October 2026. Commercial establishment, bed spacing, support, heat effects and picking. Historical chemical lists are not current treatment recommendations.
- 2. Texas A&M AgriLife — Central Texas tomato planting and harvest — Undated; reviewed October 2026. Central Texas month references only. Food preparation and household storage advice is not used as a commercial handling protocol.
- 3. Texas A&M AgriLife — Field-grown tomatoes for small-acreage producers — Undated; reviewed October 2026. Buyer, labor, irrigation and packing requirements. Historical cost, price and profit figures are not current budgets.
- 4. Penn State Extension — Tomato production — Commercial production reference; reviewed October 2026. Commercial transplant soil-temperature minimum and soil/moisture management. Transferred production guidance, not Minnesota planting dates.
- 5. Texas A&M AgriLife — Tomato disease handbook — Undated; reviewed October 2026. Field history, disease prevention, resistance and moisture-related disorders. Diagnose locally and use current labeled controls.
- 6. UC Davis — Tomato postharvest produce facts — Updated May 1997. Maturity-specific commercial storage, ripening and chilling sensitivity. Cultivar and buyer specifications can change handling needs.
- 7. University of Minnesota Extension — Tomato transplants and bacterial disease — April 2022. Minnesota commercial transplant inspection and nursery sanitation.
- 8. University of Minnesota Extension — Crop and field planning tools for vegetable farmers — Reviewed in 2026. Minnesota outdoor transplant, spacing and maturity references. First-harvest months below are calculated from its June 1 example, not observed statewide harvest dates.
- 9. University of Minnesota Extension — Bacterial canker of tomato — Reviewed October 2026. Farm and nursery prevention, diagnosis and sanitation. Household advice and historical chemical recipes are not used.
- 10. University of Minnesota Extension — Early blight in tomato and potato — Reviewed in 2024. Minnesota farm scouting, rotation, drip irrigation and foliage management. Use current commercial recommendations and product labels.
Image credits
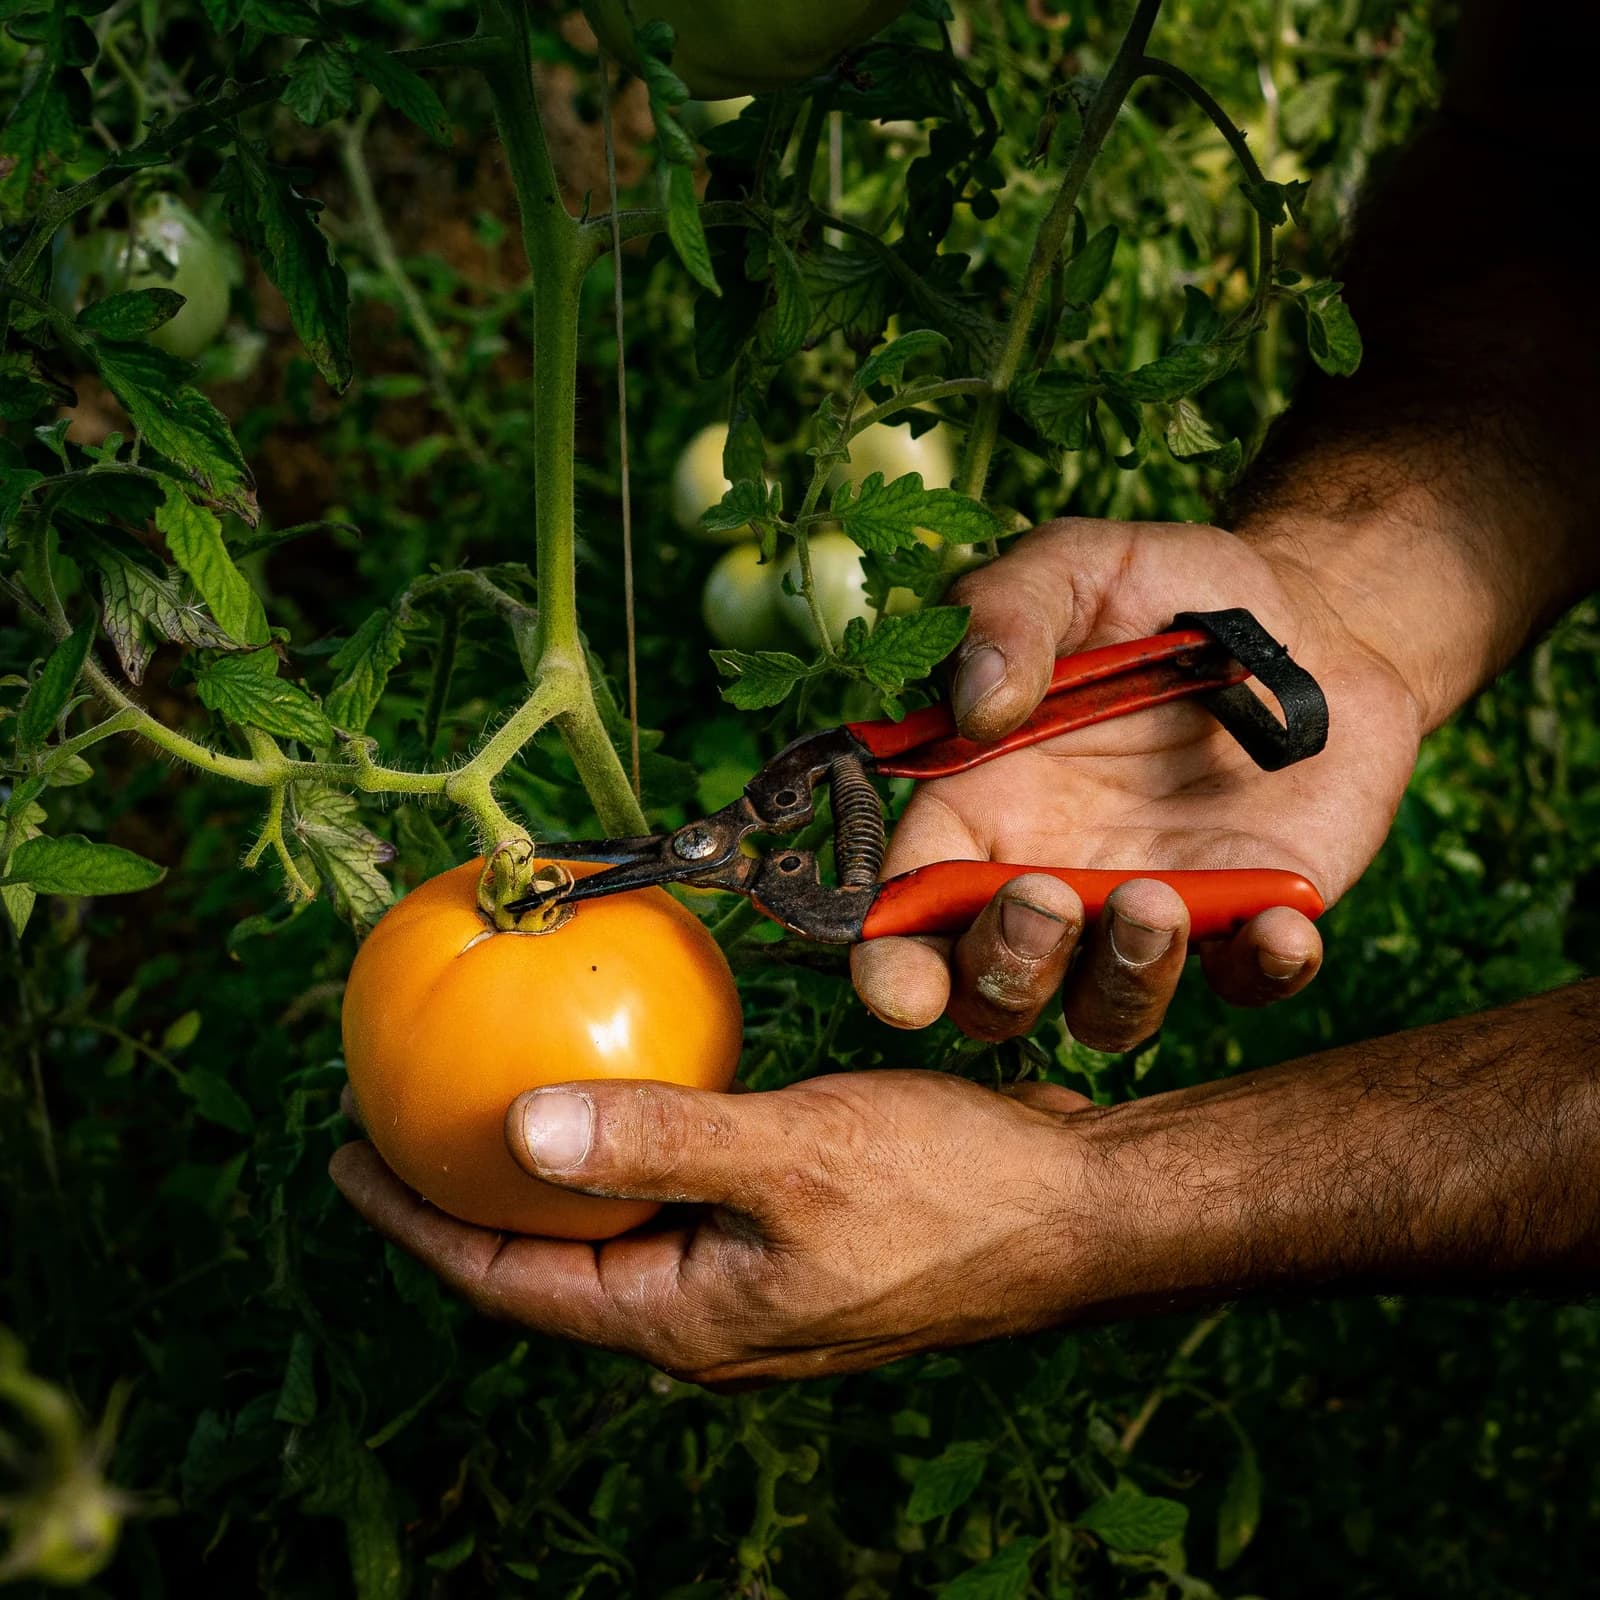
- Harvesting a tomato by supporting the fruit and cutting its stalk. Photo: Alex Grandidier / Pexels. Pexels License. Location not verified.
- Inspecting tomato transplant roots before establishment. Support the root plug and handle seedlings gently. Illustration.
- Single-row layout example: 61 cm (24 in) between plants fits the UMN field slicer/Roma range (source 8). The 1.83 m (6 ft) bed center interval is a transferred Texas example (source 1), not a Minnesota prescription. Schematic, not to scale. Illustration.
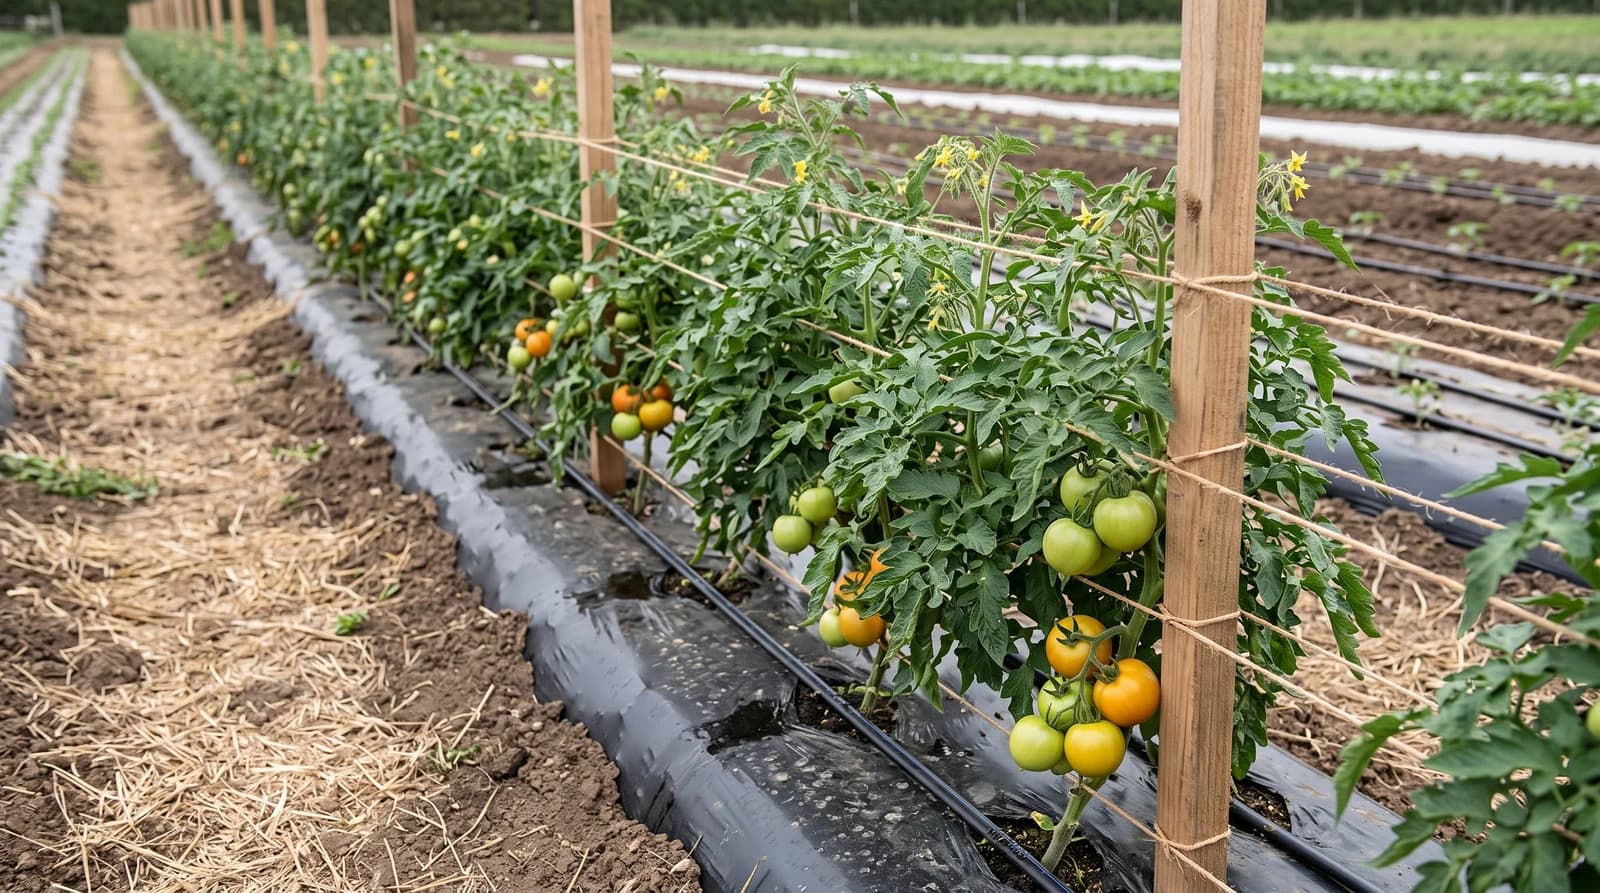
- Supported fresh-market tomato plants on a mulched field bed. Illustration.
- Sorting harvested tomatoes by visible ripeness. Surface color alone does not confirm internal mature-green readiness. Illustration.
Figures are published averages or study assumptions for the places named, not guarantees for your field. Check current local recommendations and product labels before acting.